Five presentation views most people never use
When preparing a presentation, people use the same editing view from start to finish. But some tasks are easier when you view your slides differently. ONLYOFFICE Docs 10.0 adds five display modes to the Presentation Editor, each suited to a particular part of this work.

Why use different presentation views?
A presentation involves more than arranging text and images on slides. Sometimes you need to check the flow of your content, prepare notes for a talk, or arrange slides for printing. Different views make these tasks easier, but they are often overlooked. In ONLYOFFICE Presentation Editor 10.0, five new display modes designed for a specific task give you more ways to work with presentations.
1. Outline View: review the structure of your presentation
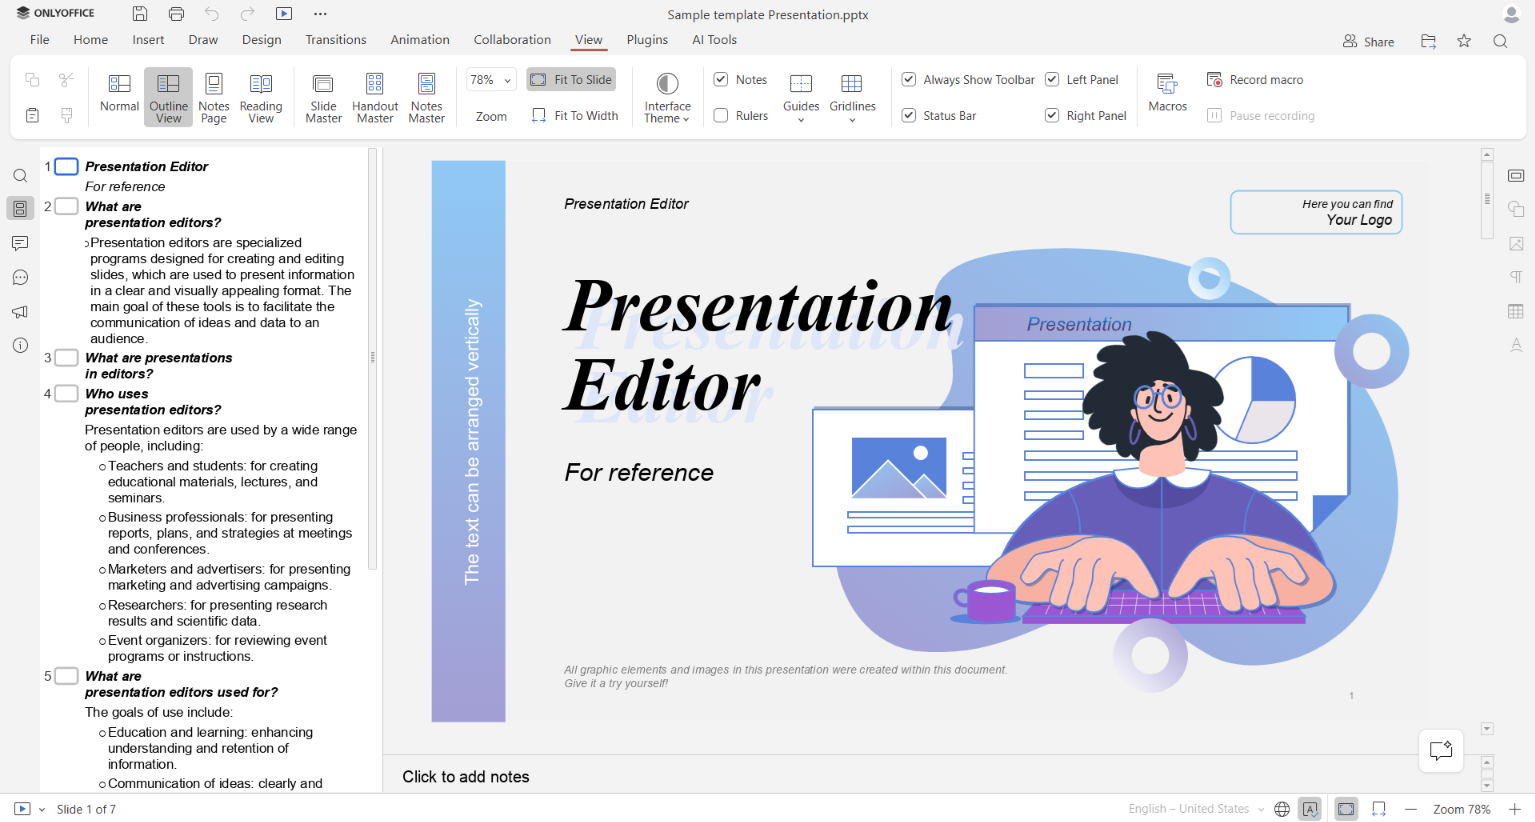
Outline View lists the titles and main text of all slides in one place. You can check the order of topics and read through the presentation in the left-side toolbar without opening slides one by one. Visual elements like images, charts, and others aren’t shown to let the author concentrate on the text and how the ideas are arranged.
How to use it
Open the View tab and select Outline View. Read and edit the text directly in the outline. Changes will be applied to the corresponding slides.
When it comes in handy
University lecture: A teacher can review the lesson structure, check that all key topics are covered, and see where students might need more explanation.
Business presentations: Before a client meeting, a sales manager can check the flow of arguments, tighten unclear points, and cut repetition.
2. Reading View: see the presentation as your audience will
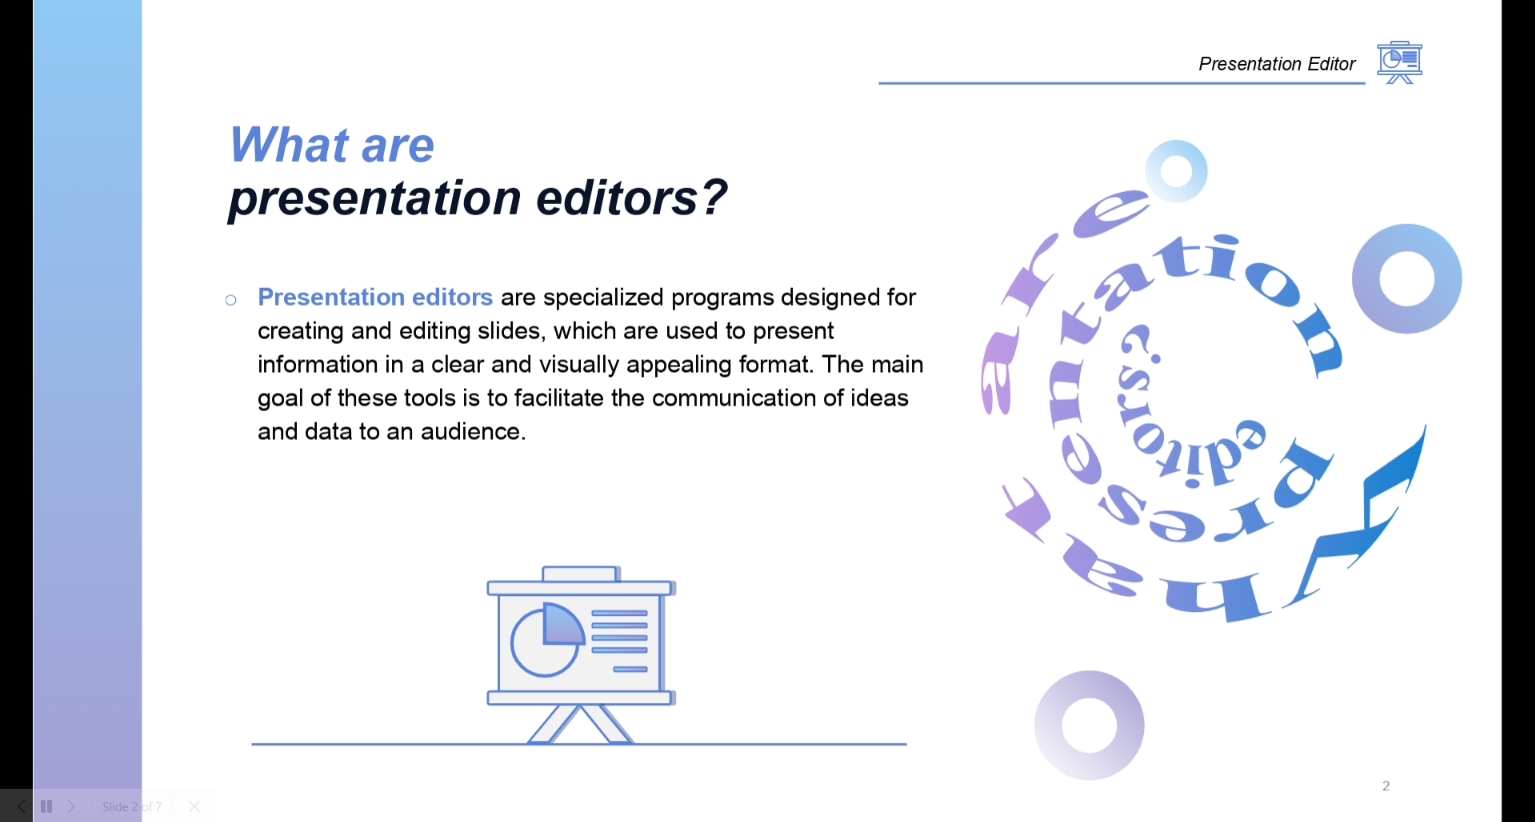
Reading View displays slides without the usual editing tools and panels. You can move through the presentation and see how the slides look on screen, without the distractions of the editing interface.
How to use it
Go to View → Reading View and move through the slides. To continue editing, return to Normal view.
When it comes in handy
Checking a student project: Before submitting a presentation, a student can go through the slides to spot awkward text placement, missing content, or visual inconsistencies.
Reviewing a project update: A team member can check the deck before sharing it with colleagues or management, focusing on how the slides look together rather than on individual editing details.
3. Notes Page: keep your speaking notes close at hand
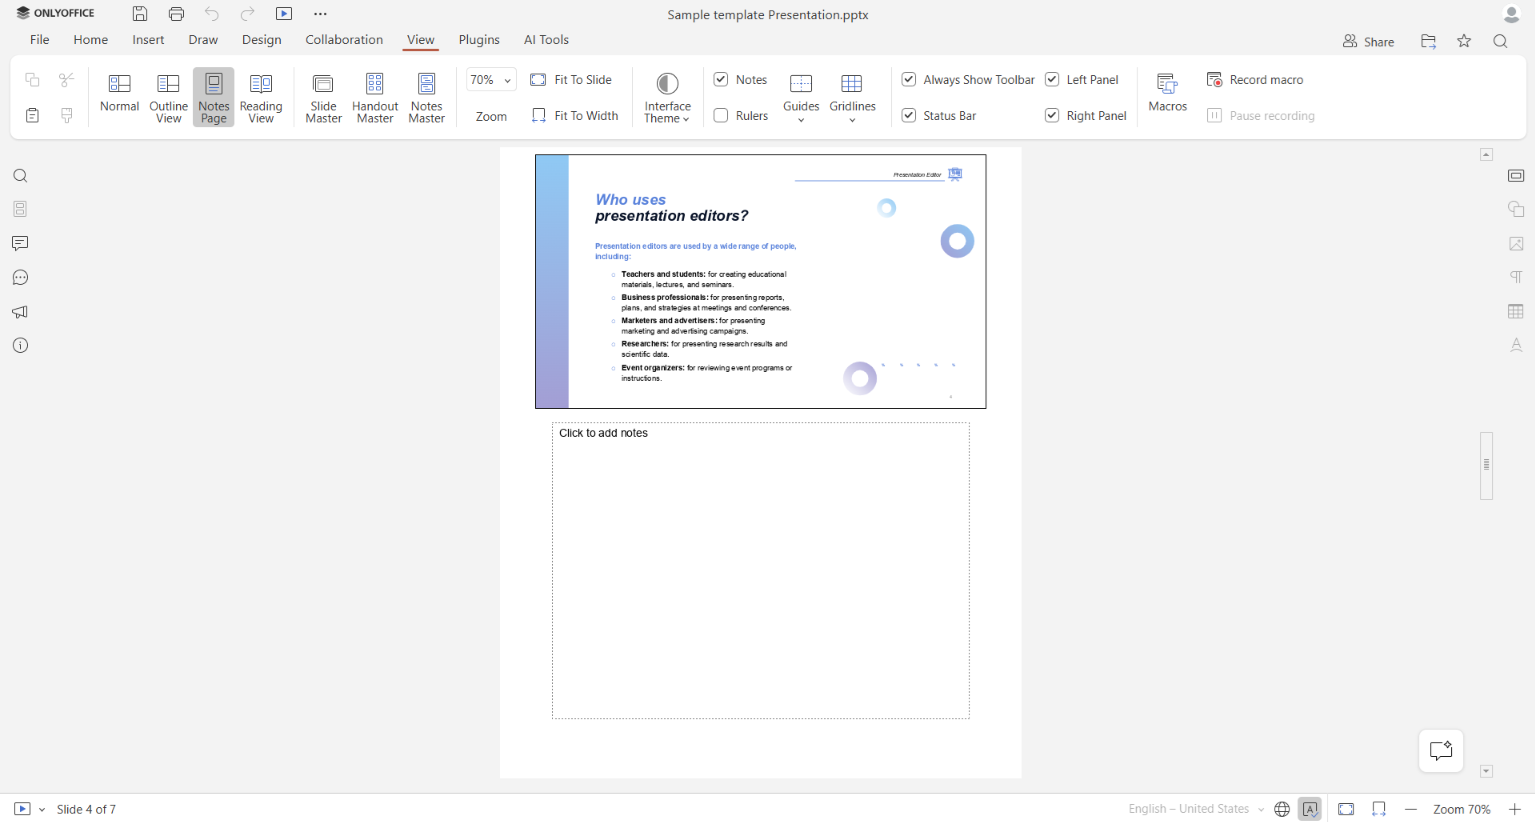
Notes Page displays a slide with its speaker notes underneath. You can work on the slide and its accompanying notes together, without switching between separate views.
How to use it
Select View → Notes Page. Add or edit notes in the area below the slide. Use them to prepare explanations, reminders, examples, or additional details that don’t need to appear on the slide itself.
When it comes in handy
Giving a conference talk: A speaker can attach key statistics and reminders to each slide without cluttering the screen the audience sees.
Teaching a class: A teacher can add explanations, questions, and examples to accompany each slide and deliver the lesson more easily.
4. Notes Master: set up the layout of printed notes
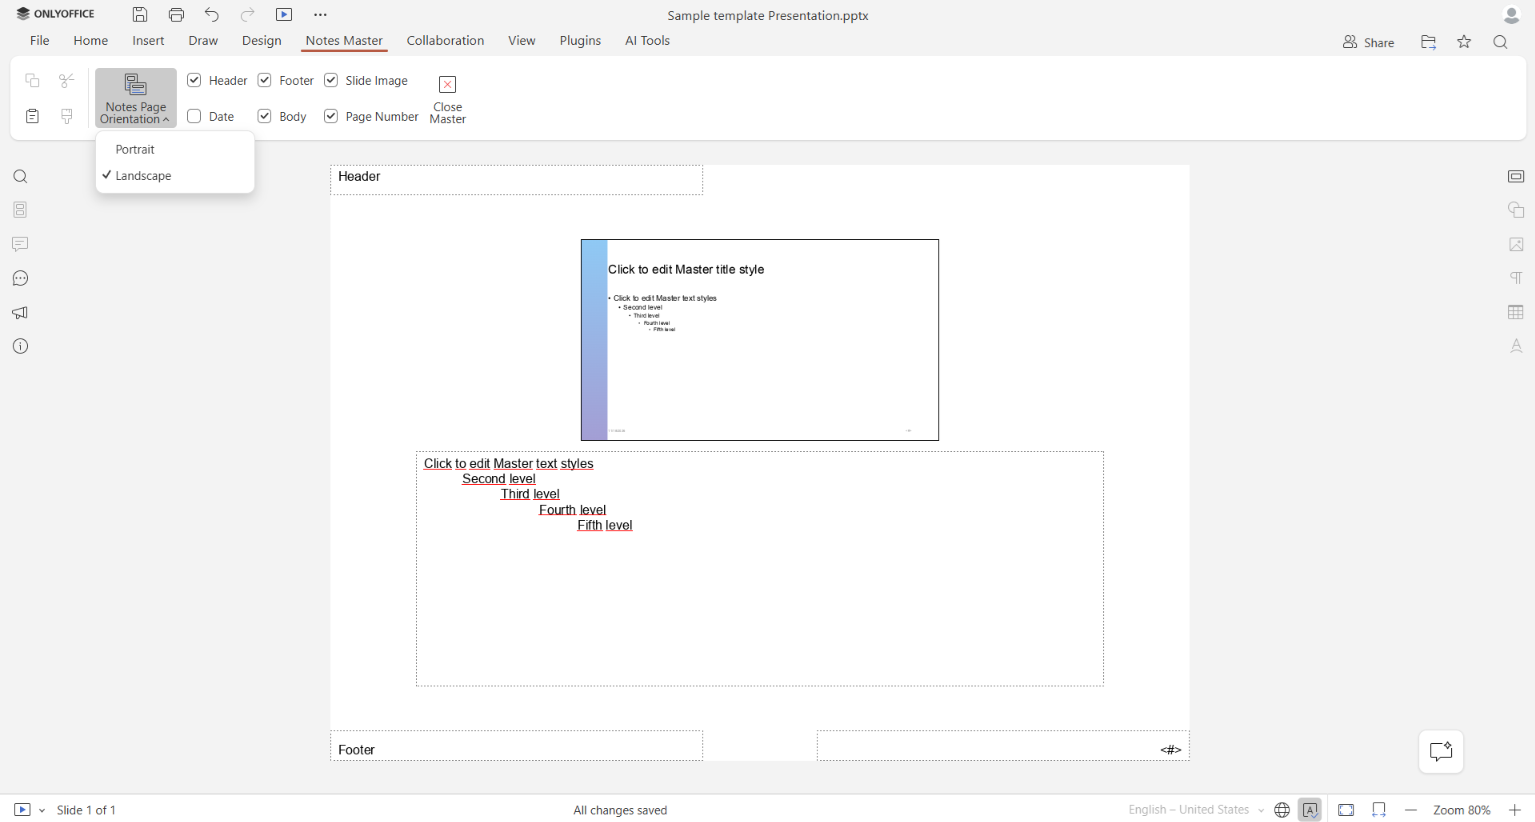
Notes Master lets you change the layout used for notes pages throughout a presentation. You can set the page orientation, adjust the position of the slide and notes areas, and add elements such as headers, footers, dates, and page numbers. These settings apply to the notes pages, so you don’t have to format each one separately.
How to use it
Open View → Notes Master. Choose portrait or landscape orientation, then show or hide the page elements you need. Close Master mode when you’re finished.
When it comes in handy
Preparing a training course: A trainer can create a consistent set of printed notes for participants, with slide previews and room for additional information.
Organizing a workshop: An event organizer can prepare notes pages for speakers, including page numbers and event details. This way, all materials follow the same layout.
5. Handout Master: arrange slides for printing
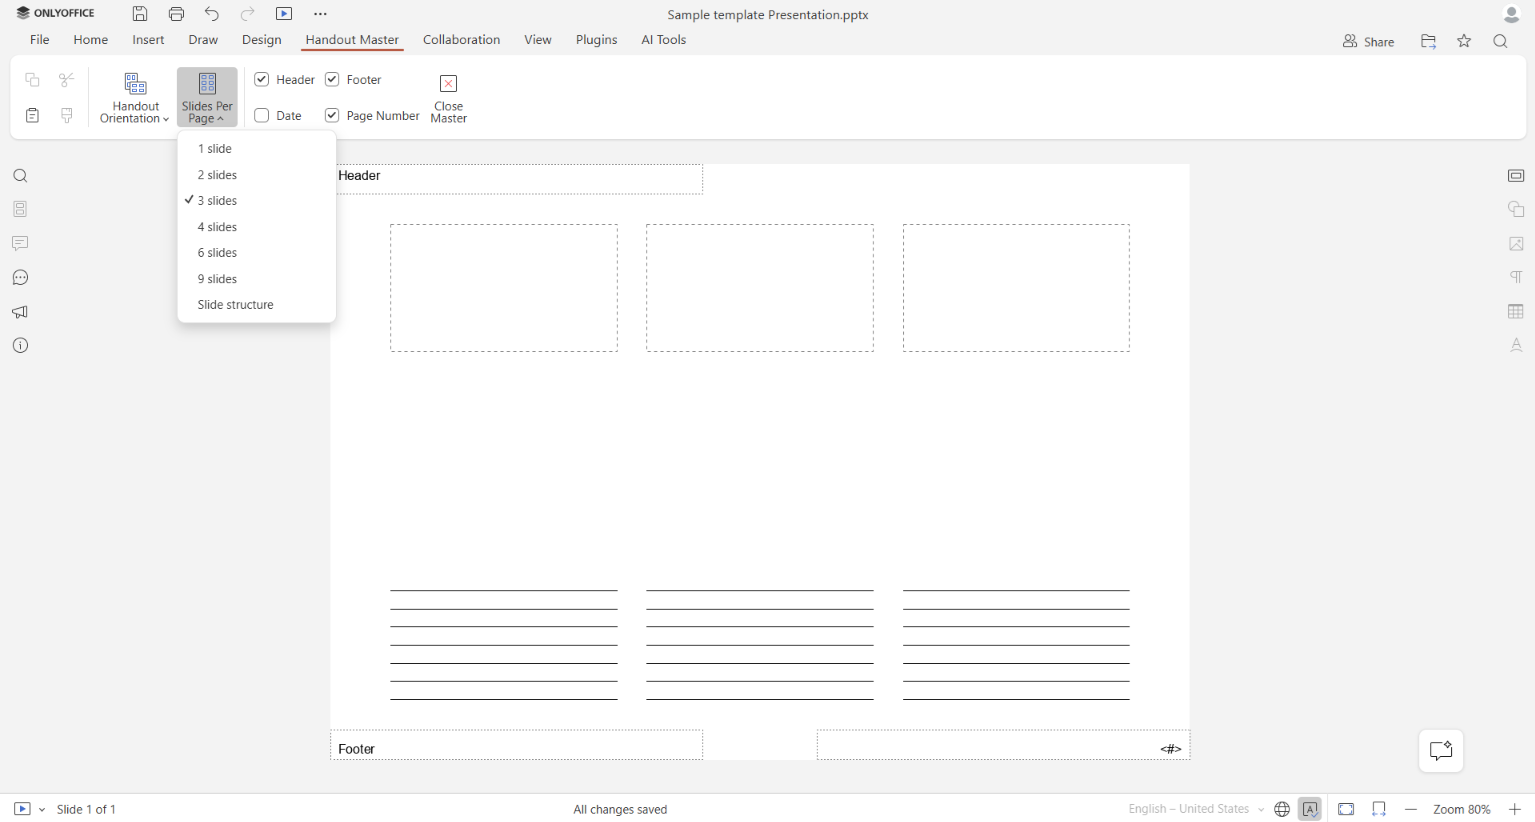
Handout Master controls how slides appear on printed handouts. You can choose the page orientation, the number of slides on each page and add headers, footers, dates, and page numbers.
How to use it
Go to View → Handout Master. Select portrait or landscape orientation and choose how many slides to place on each page: 1, 2, 3, 4, 6, or 9. Adjust the other page elements as needed.
When it comes in handy
Sharing lecture materials: A university lecturer can print several slides on one page, giving students a compact reference to use during class.
Preparing a client meeting: A project manager can create a handout with several slides on each page, allowing participants to follow the presentation and take notes without having to print each slide on a separate page.
Choose the view that works for you
You don’t need to use all five views every time you prepare a presentation. Outline View is useful when working on the content, Reading View when checking the finished slides, and Notes Page when preparing to speak. Notes Master and Handout Master come into play when you need printed materials. Each gives you a different way to work with the same presentation.
Explore presentation views in ONLYOFFICE
Try the five display modes in ONLYOFFICE Presentation Editor and choose the view that fits your task. Use the desktop apps for Windows, Linux, and macOS, or create a free cloud account.
Create your free ONLYOFFICE account
View, edit and collaborate on docs, sheets, slides, forms, and PDF files online.