Manipulate PDF content with new ONLYOFFICE PDF Editor API
ONLYOFFICE has recently introduced a new PDF API, bringing macro support to the PDF. With these new methods, you can interact with PDF documents programmatically — automating tasks that would otherwise require manual work. In this blog post, we will explore three practical macros that demonstrate what you can do with the new API.
New PDF API methods
Here is an overview of the new methods used across three macro examples:
- GetPagesCount() — returns the total number of pages in the PDF document.
- GetPage(index) — retrieves a specific page object by its index, returning an ApiPage object.
- GetAllAnnots() — returns an array of all annotation objects on a given page.
- GetContents() — retrieves the text content of an annotation.
- GetAllDrawings() — returns an array of all drawing objects (shapes, charts, images).
- SetPosition(x, y) — positions a drawing object directly on the page using absolute coordinates.
- AddObject(object) — adds a drawing object (shape, chart, image) to a specific page
- Delete() — removes the specified object from the document.
These methods belong to ApiDocument, ApiPage, ApiBaseAnnotation, and ApiDrawing classes. They can be combined with the existing Office API methods you may already be familiar with.
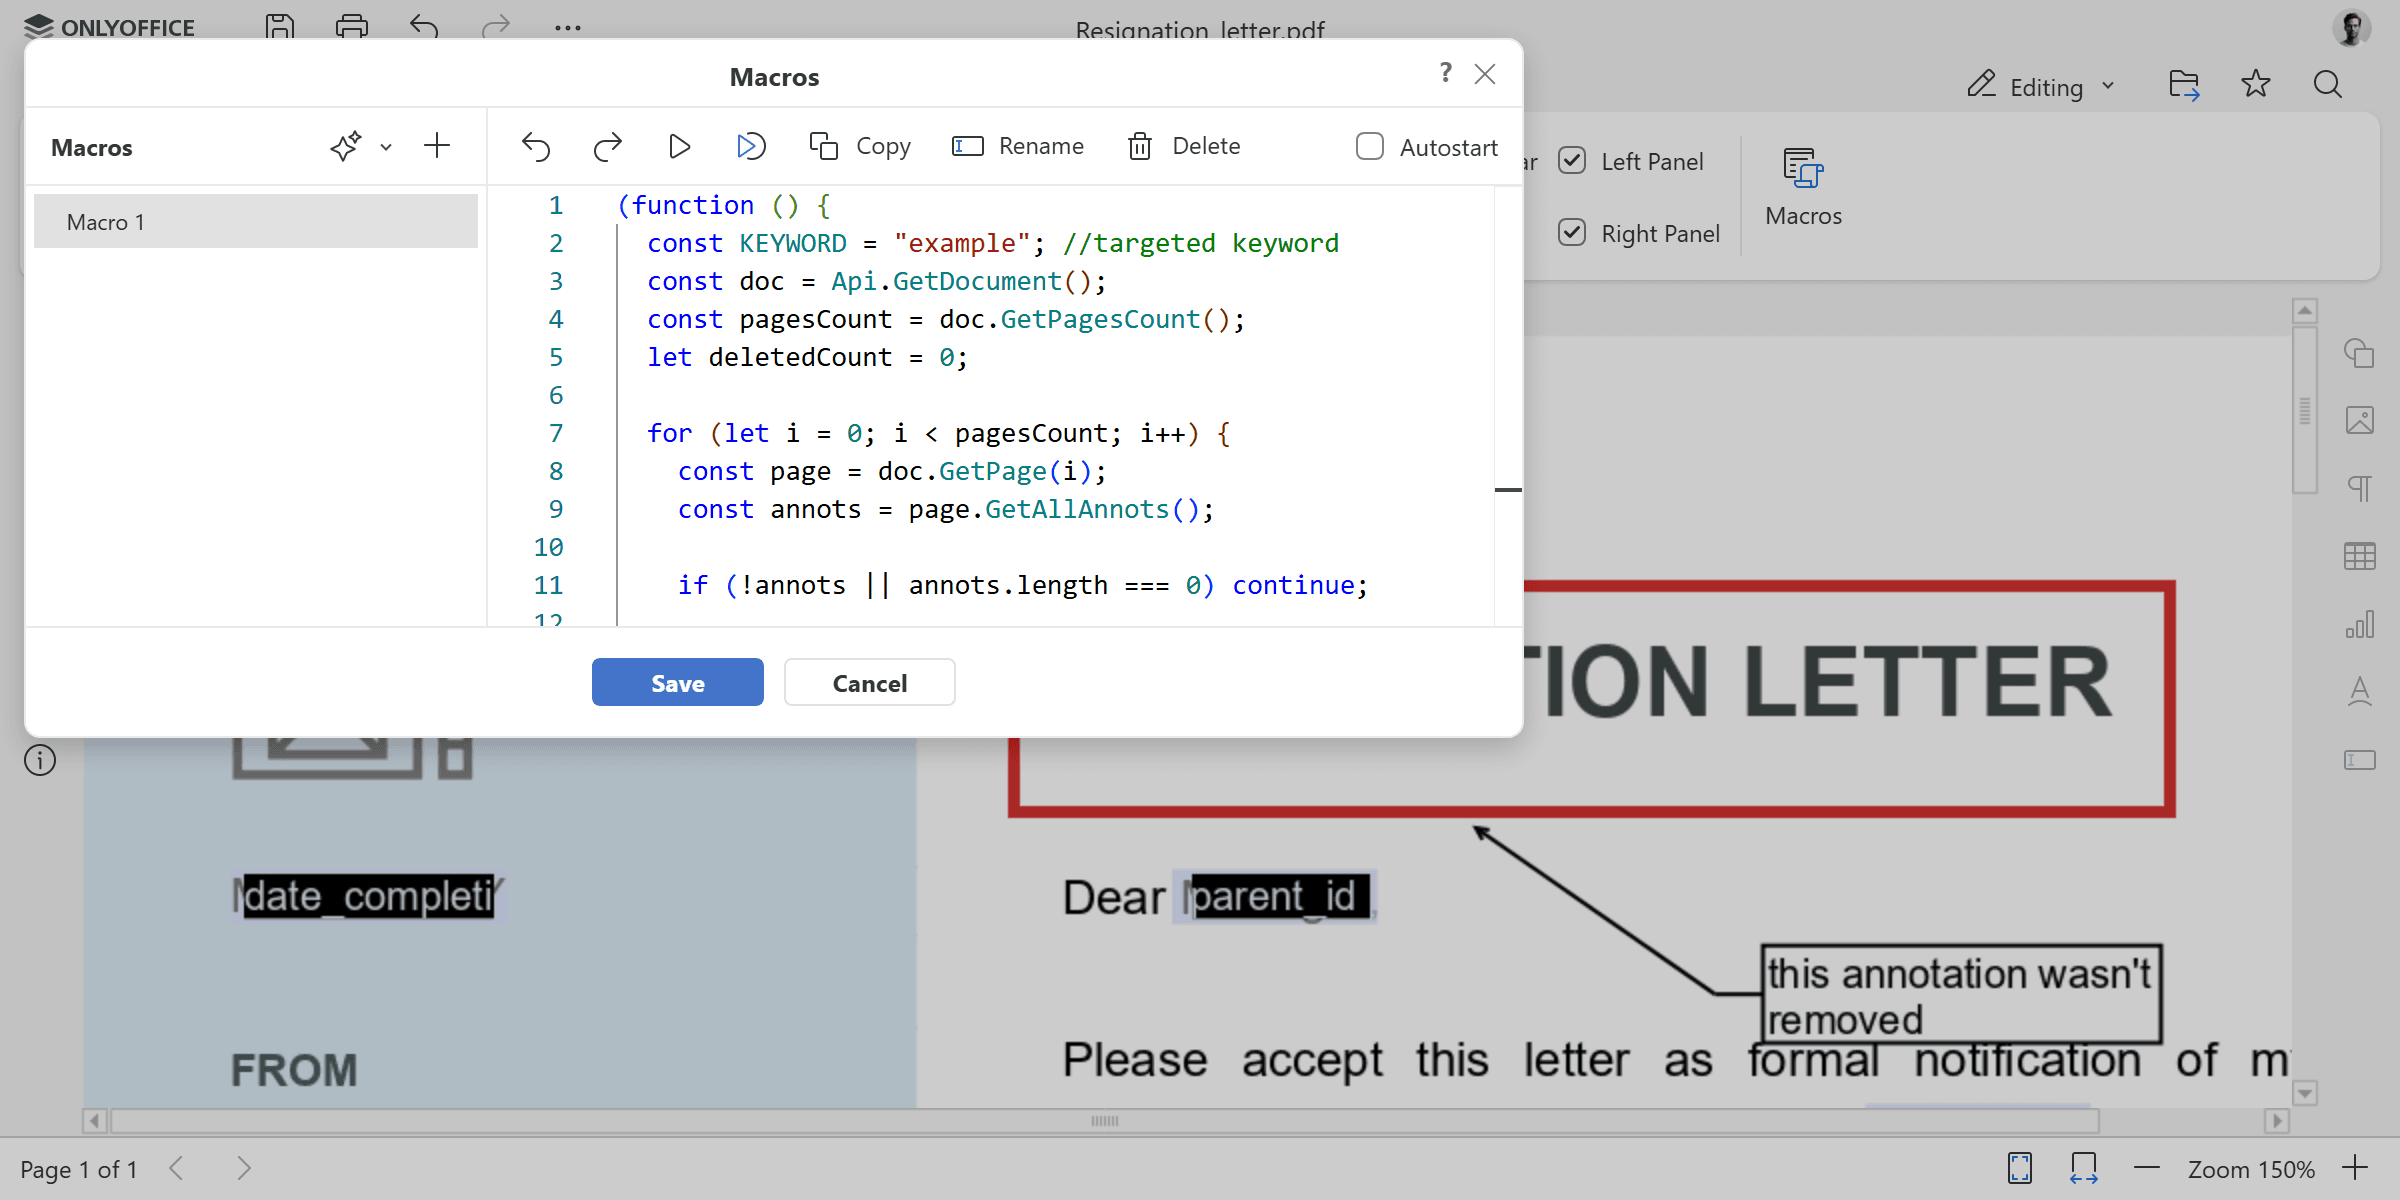
Example 1: Remove annotations by keyword
Our first macro finds and deletes all annotations that contain a specific keyword. Let’s walk through it step by step.
Setting up the keyword and document
const KEYWORD = "example";
const doc = Api.GetDocument();
const pagesCount = doc.GetPagesCount();
let deletedCount = 0;
First, we define the target keyword — any annotation whose contents include this word will be removed. Then, we retrieve the current document and get the total number of pages with GetPagesCount(). The deletedCount variable will track how many annotations we delete.
for (let i = 0; i < pagesCount; i++) {
    const page = doc.GetPage(i);
    const annots = page.GetAllAnnots();

    if (!annots || annots.length === 0) continue;
A for loop iterates through every page. For each page, we use GetPage() to get the ApiPage object and GetAllAnnots() to retrieve all annotations on that page. If a page has no annotations, we skip it and move on.
Matching and deleting annotations
for (let j = annots.length - 1; j >= 0; j--) {
    const annot = annots[j];
    const contents = (annot.GetContents() || "").toLowerCase();
Inside each page, we loop through the annotations in reverse order. Iterating backwards is important because deleting items from an array while moving forward can cause index shifts and skiped elements. For each annotation, we extract its text using GetContents() and convert it to lowercase for case-insensitive comparison.
if (contents.includes(KEYWORD.toLowerCase())) {
    annot.Delete();
    deletedCount++;
}
If the annotation text includes the target keyword, we call Delete() to remove it from the document and increment the counter.
console.log("Deleted annotations containing keyword:", KEYWORD);

console.log("Total deleted:", deletedCount);
At the end, the macro logs the keyword that was searched for and the total number of deleted annotations to the console.
The complete macro code:
(function () {
    const KEYWORD = "example";
    const doc = Api.GetDocument();
    const pagesCount = doc.GetPagesCount();
    let deletedCount = 0;

    for (let i = 0; i < pagesCount; i++) {
        const page = doc.GetPage(i);
        const annots = page.GetAllAnnots();

        if (!annots || annots.length === 0) continue;

        for (let j = annots.length - 1; j >= 0; j--) {
            const annot = annots[j];
            const contents = (annot.GetContents() || "").toLowerCase();

            if (contents.includes(KEYWORD.toLowerCase())) {
                annot.Delete();
                deletedCount++;
            }
        }
    }

    console.log("Deleted annotations containing keyword:", KEYWORD);
    console.log("Total deleted:", deletedCount);
})();
Once the macro runs, every annotation containing the specified keyword is removed from the document. To target a different word, just update the KEYWORD variable at the top of the code.
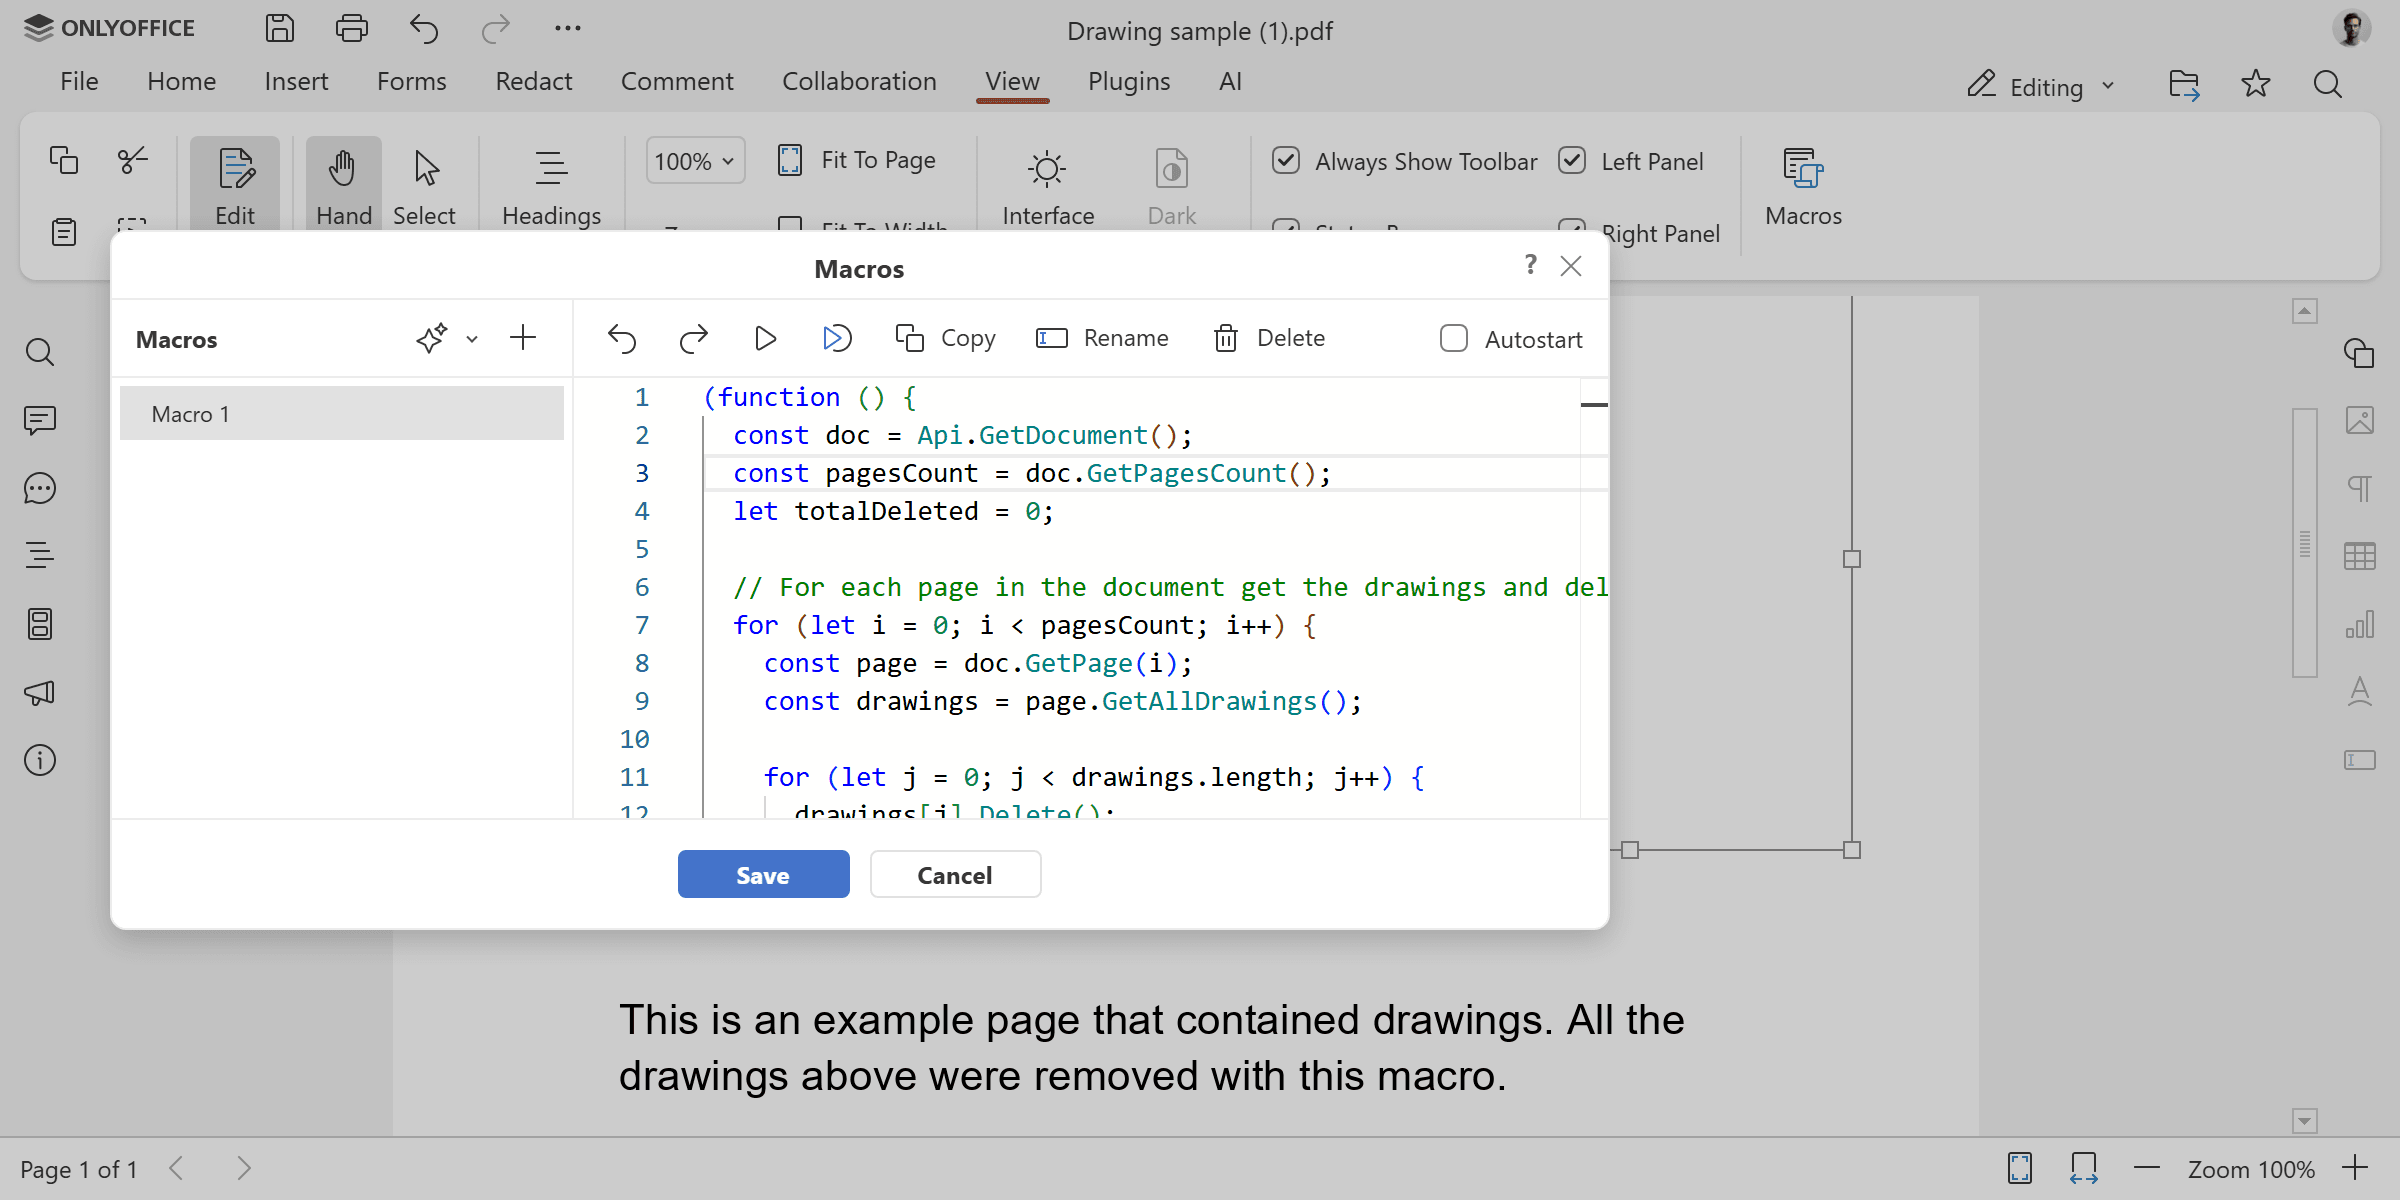
Example 2: Remove all drawings
This macro scans every page and deletes all drawing objects — or only a specific type. It uses GetAllDrawings() to retrieve all visual elements on each page, and GetClassType() to check their type before deleting.
The targetType variable at the top controls what gets removed. Set it to “all” to remove everything, or use “shape”, “image”, or “chart” to target a specific type of drawings.
(function () {
    const doc = Api.GetDocument();
    const pagesCount = doc.GetPagesCount();
    let totalDeleted = 0;

    const targetType = "all";

    for (let i = 0; i < pagesCount; i++) {
        const page = doc.GetPage(i);
        const drawings = page.GetAllDrawings();

        for (let j = 0; j < drawings.length; j++) {
            if (targetType === "all" || drawings[j].GetClassType() === targetType) {
                drawings[j].Delete();
                totalDeleted++;
            }
        }
    }

    console.log("Deleted " + totalDeleted + " drawing(s) from " + pagesCount + " page(s).");
})();
Whether you’re preparing a document for print, removing outdated diagrams, or stripping images before redistribution — this macro takes care of it. By adjusting the targetType variable, you can switch between a full cleanup and a selective one without modifying any other part of the code.
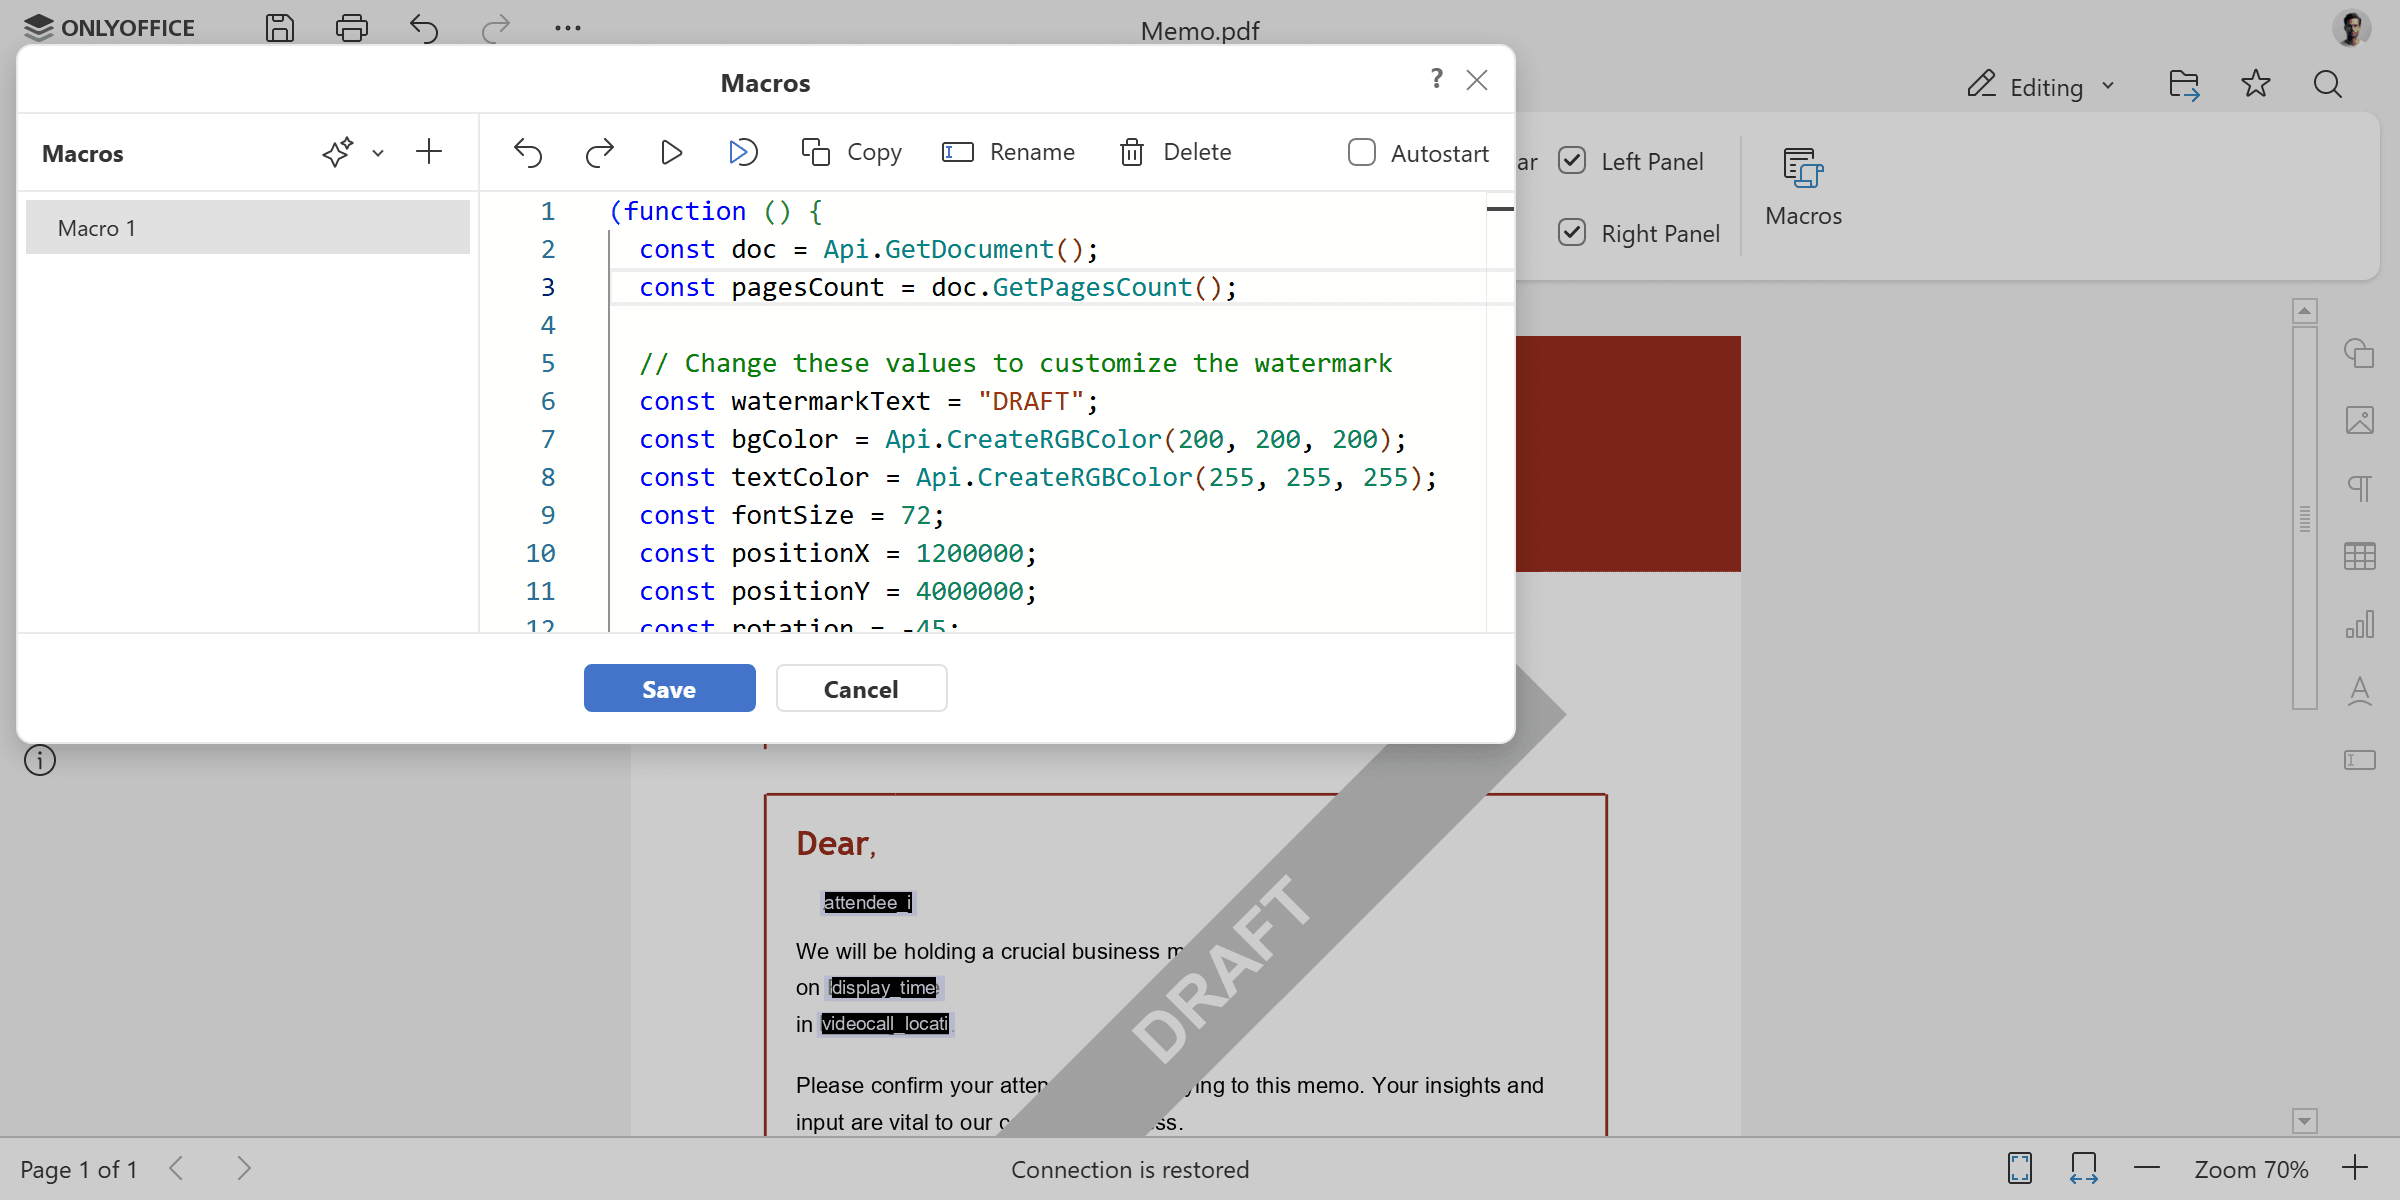
Example 3: Add a watermark to every page
Our last macro creates a customizable watermark shape and places it on every page of the document. It uses SetPosition() to place the shape at exact coordinates on the page and AddObject() to add it to each page.
All the key properties are defined as variables at the top, making it easy to adjust the watermark text, colors, font size, position, and rotation angle.
(function () {
    const doc = Api.GetDocument();
    const pagesCount = doc.GetPagesCount();

    const watermarkText = "DRAFT";
    const bgColor = Api.CreateRGBColor(200, 200, 200);
    const textColor = Api.CreateRGBColor(255, 255, 255);
    const fontSize = 72;
    const positionX = 1200000;
    const positionY = 4000000;
    const rotation = -45;

    for (let i = 0; i < pagesCount; i++) {
        const page = doc.GetPage(i);
        const fill = Api.CreateSolidFill(bgColor);
        const stroke = Api.CreateStroke(0, Api.CreateNoFill());
        const watermark = Api.CreateShape("rect", 160 * 36000, 20 * 36000, fill, stroke);
        watermark.SetPosition(positionX, positionY);
        watermark.SetRotation(rotation);

        const content = watermark.GetContent();
        const para = content.GetElement(0);
        para.SetJc("center");
        const run = para.AddText(watermarkText);
        run.SetFontSize(fontSize);
        run.SetBold(true);
        run.SetFill(Api.CreateSolidFill(textColor));

        page.AddObject(watermark);
    }
})();
The watermark is built from a standard shape with text content, giving you full control over its appearance — from subtle background labels to bold full-page stamps. You can also experiment with different shape sizes, font styles, or rotation angles to find the look that works best for your documents.
These three macros are just a starting point — the new PDF API opens up many more possibilities for automating your PDF workflows. You can combine these methods to build more advanced macros tailored to your specific needs. Explore the API documentation and macro samples linked below for more ideas. If you have any questions or want to share what you’ve built, feel free to reach out to us!
Create your free ONLYOFFICE account
View, edit and collaborate on docs, sheets, slides, forms, and PDF files online.