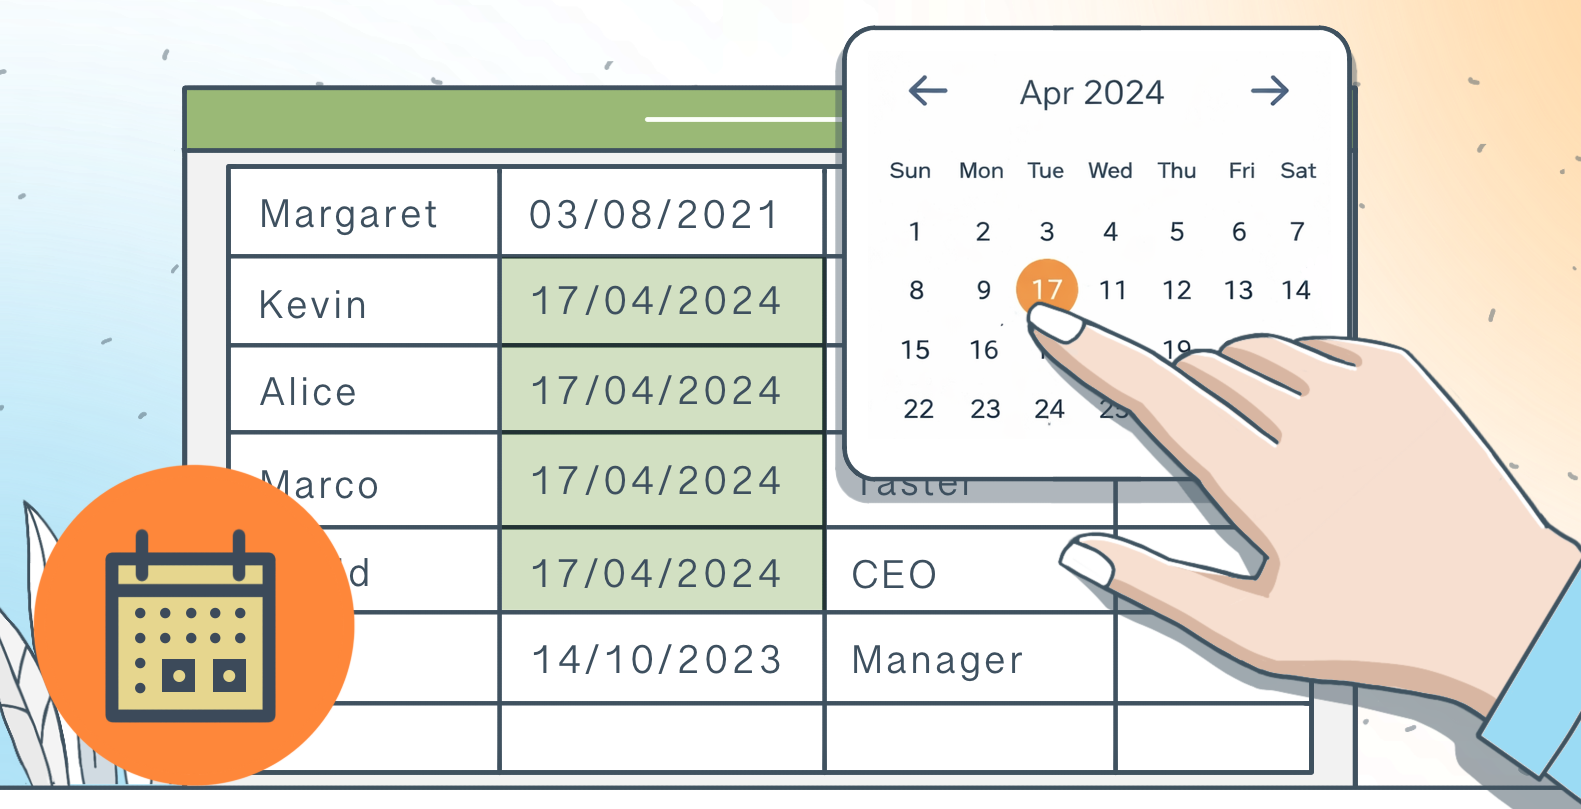
Introducing the Date Picker plugin: Effortlessly select and insert formatted dates into multiple cells
Working with dates in spreadsheets can be time-consuming and error-prone, especially when dealing with multiple cells or specific formatting requirements. ONLYOFFICE enhances productivity through helpful plugins for common tasks. In this blog post, we are introducing the Date Picker plugin: a purpose-built tool for inserting dates into selected cells with full control over formatting.
About the plugin
The Date Picker plugin allows you to quickly insert dates into selected cells using an integrated calendar widget. Supporting ONLYOFFICE Spreadsheet editor, this plugin saves time and ensures consistency by letting you choose from various date formats and apply them to multiple cells simultaneously with a single operation.
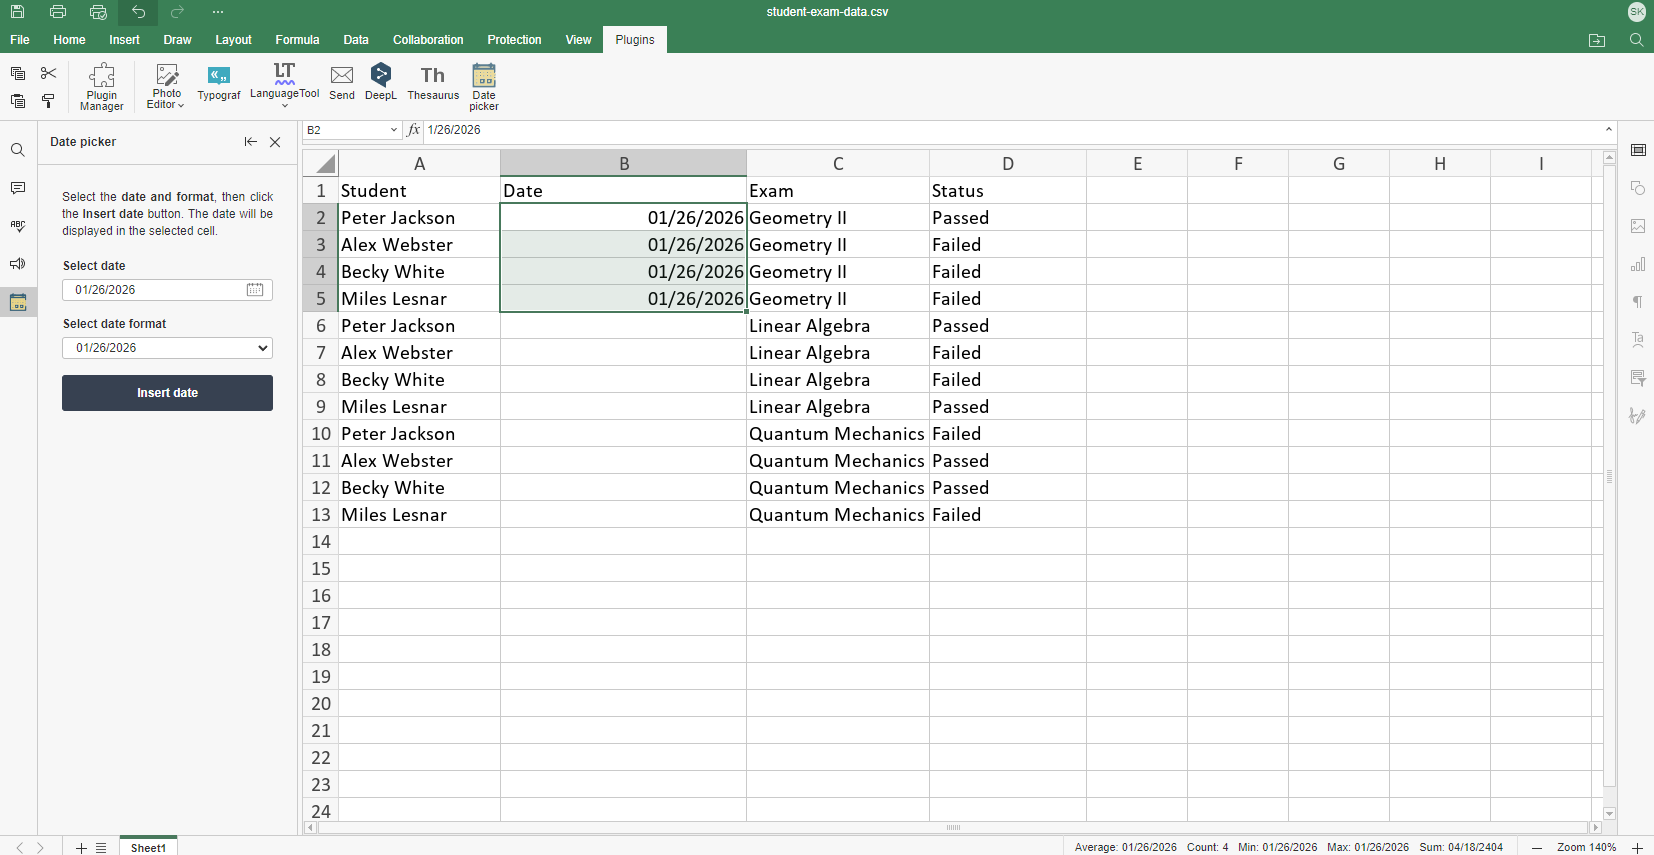
Here’s an example of inputting dates in “mm/dd/yyyy” format.
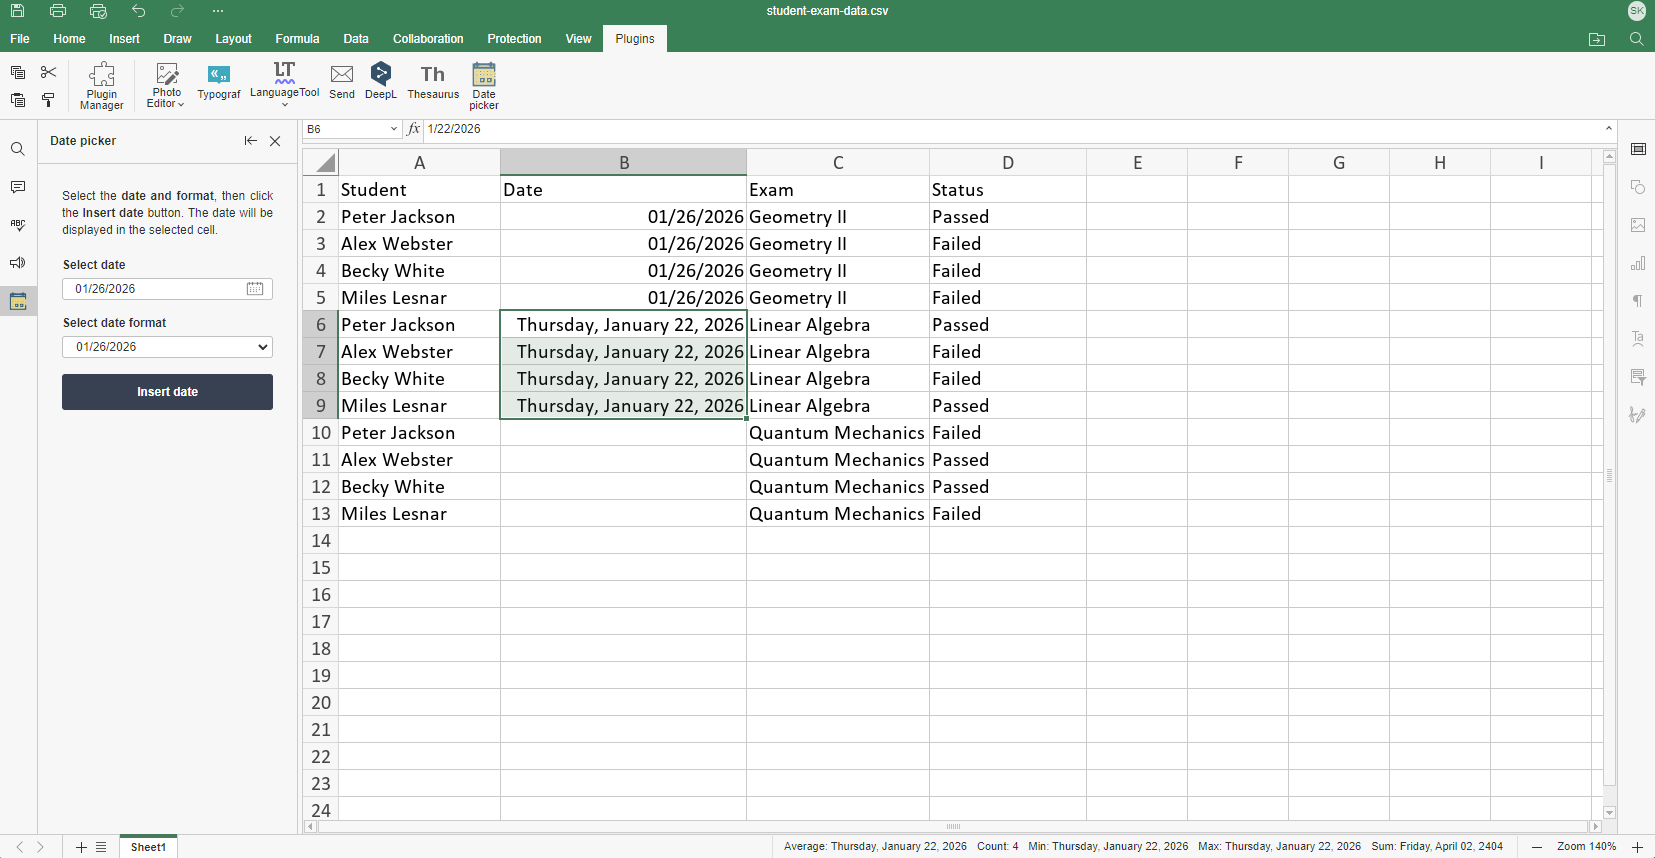
Now, let’s try the format “Day of week, Month dd, yyyy”:
And let’s apply the ‘dd-Mon-yy’ format:

This plugin clearly delivers valuable benefits across various spreadsheet use cases, whether you’re handling large datasets and analytics or managing basic day-to-day planning.
How to install and use
The plugin is accessible in both cloud and desktop versions.
Installation via the Plugin Manager
- Go to the Plugins tab and open the Plugin Manager.
- Go to the Marketplace tab.
- Search for the Date Picker plugin via the Search bar on the right. Click Install
Manual installation
- Find and download the Date Picker plugin from the ONLYOFFICE plugin repository.
- Archive the plugin files.
- Change the file extension to .plugin.
- Go to the Plugins tab, click Plugin Manager >> Available plugins >> Install plugin manually, browse for the .plugin file.
Usage
- Activate the Date Picker plugin in the Plugins tab.
- Select the cells using the mouse.
- Click the Select date area and select the date from the calendar.
- Click the Select date format area and select the preferred date format.
- Click the Insert date button.
Note! After inserting the date, the Date Picker interface resets to today’s date, and you can then insert another date the same way.
START ONLINE GET DESKTOP EDITORS
What’s next
ONLYOFFICE Editors offers many useful features, and custom plugins make it even more powerful for specific tasks. Stay tuned for our next blog where we will put ONLYOFFICE Macros and AI functions head to head, examining their strengths, weaknesses, and ideal applications.
Create your free ONLYOFFICE account
View, edit and collaborate on docs, sheets, slides, forms, and PDF files online.