Transitions in PowerPoint presentations: a big guide
Adding a couple of animations to your slides can help to create more engaging presentations that communicate your message with impact and style. Here’s how to use slide transitions in PowerPoint presentations.

What is transition in PowerPoint presentation
A transition is an animation-like effect that takes place when you move from one slide to the next one. In ONLYOFFICE Presentation Editor, you can choose an effect to a single slide or whole the presentation, control the speed, and even customize the properties of transition effects.
When animation refers to the effect of an element on a slide. You can animate text objects, shapes, images, charts, tables, icons, etc., adding various effects. It can be fun but be careful not to overdo with complicated animations because they can become distracting.
If you use the right transition effects, you can:
- Enhance your presentation’s appearance,
- Underline key points,
- Control the pace,
- Grab people’s attention.
How to add transitions in PowerPoint presentation
Once opened your file in ONLYOFFICE Presentation Editor, to apply a transition to a single slide or several selected slides you have to:
Go to the Transitions tab on the top toolbar.

Select a slide or a few of them in the list on your left.
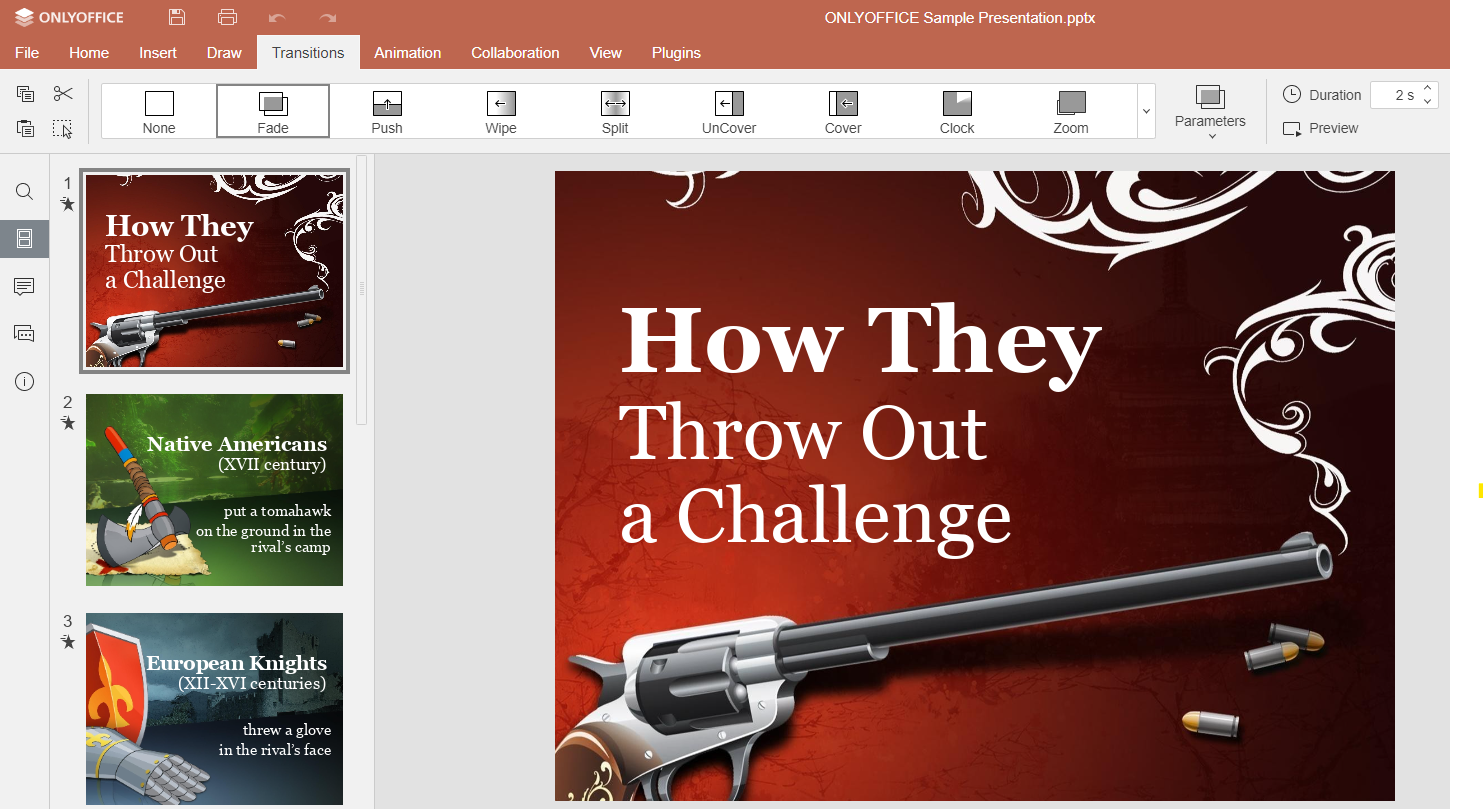
Select the transition effect you like on the Transition tab.
You can choose between:
- Fade,
- Push,
- Wipe,
- Split,
- Uncover,
- Cover,
- Clock,
- Zoom,
- Morph
or apply different transitions in PowerPoint presentation.

Press the Preview button to view the applied effect.

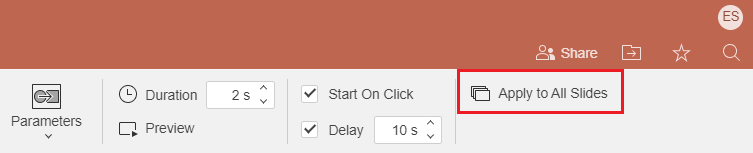
If you liked the one you used, it’s possible to easily apply it to whole the file. Just click the Apply to All Slides button on the Transitions tab.
To make the effects exactly in line with the concept of the work you’d like to represent, click the Parameters button to select one of the available options that define exactly how the effect appears.
Choose how long you want the transition to last, entering the necessary time value in the Duration box.
Select the Start on click option to have the slide advance when the mouse is clicked. Or select the Delay option to display each slide for a specific amount of time, measured in seconds.

Let’s have a look on types of slide transition available in the Presentation Editor:
- Fade: slide gradually becomes visible,
- Push: slide appears from the left or right sides, bottom or top,
- Wipe is used to wipe a content to a slide area from a specified direction,
- Split unites halves of a slide from a specified direction,
- Uncover: the previous slide uncovers the following one from a specified direction,
- Cover is the opposite to the previous option,
- Clock: slide appears clockwise, counterclockwise or in both directions together,
- Zoom the current slide zooms in/out or zooms and rotate to show the following one,
- Morph transition, a feature that allows smooth, animated continuity between elements of a presentation.
Among other existing transitions you may find also:
PowerPoint morph transition
Use it to make an effect of a movement to the chosen elements on the slide. It looks like an animation but it’s not, because of a trick with two slides looking almost the same. For example, the second one has the same elements, but a bit bigger, in comparison with the first one. In our case, applied morph transition makes the objects become bigger. You can use it for different chart elements.
To make a transition between the two slides seamless and make objects morphing or changing naturally, without abrupt cuts or jumps, apply this feature to create a more polished and professional look for your presentations right from the top tool bar.

Unlike traditional animations where you have to manually specify the movement and changes for each element, morph transitions automatically analyze the differences between two slides and animate the objects accordingly.
You can choose what items you’d like to animate clicking on the Parameters.

Morph transition enables items on one slide to smoothly transform into items on the next slide. This transformation can include changes in position, size, shape, color, and other properties.
Here below you can find and example of animated objects, visual storytelling elements, showing the transformation of a concept from slide to slide.

A part from objects, you can apply the morph transition to words to make them appear one at a time. Unlike traditional animations where you have to manually specify the movement and changes for each word, morph transitions automatically analyze the differences between two slides and animate the words accordingly.
The last parameter lets you animate letters. This means that you can animate individual letters within a word or text to create dynamic effects and transformations. You make letters appear as if they are being written or drawn to create “typing” visual effect.
By applying morph transitions to individual letters, text, elements or group of elements you can bring your presentations to life and deliver your message in a more dynamic and visually appealing way. This feature is particularly useful for creative and visually-driven presentations or when you want to add a special touch to your slides.
How to remove useless animations
If you don’t need PowerPoint slide transition effects any longer, just follow these simple steps to delete them:
- Select the slide with the transition you want to remove,
- Choose None on the Transition tab. The transition will be removed,
- To remove transitions from all the presentation, apply the None transition to a slide, then click the Apply to All Slides button.
 Best practices when adding transitions and animations to presentation:
- Preview the animations you used.
- Ask yourself this question: would this animation make my presentation better?
- Use the same transition effect and don’t mix them.
- Keep your presentation simple.
Have a look on this video to discover how to make creative presentations in ONLYOFFICE Docs:
That is how to use transitions and animations in presentations. Try yourself in ONLYOFFICE editors:
START FREE IN CLOUD GET DESKTOP EDITORS
Animations are the same thing as transitions?
No, animations and transitions are not the same things; they serve different purposes in the context of presentations and visual content.
Transitions typically refer to the effects used to move from one slide to another in a presentation. These effects control how the transition between slides occurs, such as fading, sliding, or flipping from one slide to the next. Transitions are primarily applied between slides to make the presentation flow more smoothly.
Animations, on the other hand, refer to effects applied to objects or elements within a slide. These effects determine how objects move, change, or appear within a single slide. For example, you can use animations to make objects appear or disappear, move across the slide, change in size, or transform in various ways. Animations are used to add visual interest and engagement to individual elements within a slide.
In summary, transitions are about the movement between slides, while animations are about the effects applied to objects or text within a single slide. Both transitions and animations contribute to making presentations more engaging and visually appealing. Check our guide on animations to learn more and make your slides more visually appealing.
Useful links
To learn more about applying transitions, visit our Help Center.
Find out more about other effects and options in ONLYOFFICE Presentation Editor
Create your free ONLYOFFICE account
View, edit and collaborate on docs, sheets, slides, forms, and PDF files online.


