How to connect ONLYOFFICE Docs to SharePoint using WOPI
Along with our official integration app for SharePoint, you are now able to connect this content management system and ONLYOFFICE Docs using WOPI. Read on and learn how to do it.

Integration features
SharePoint is a web-based collaborative platform for sharing and managing content, knowledge, and applications to empower teamwork.
With ONLYOFFICE Docs — both free community and enterprise versions — connected to your SharePoint, you can*:
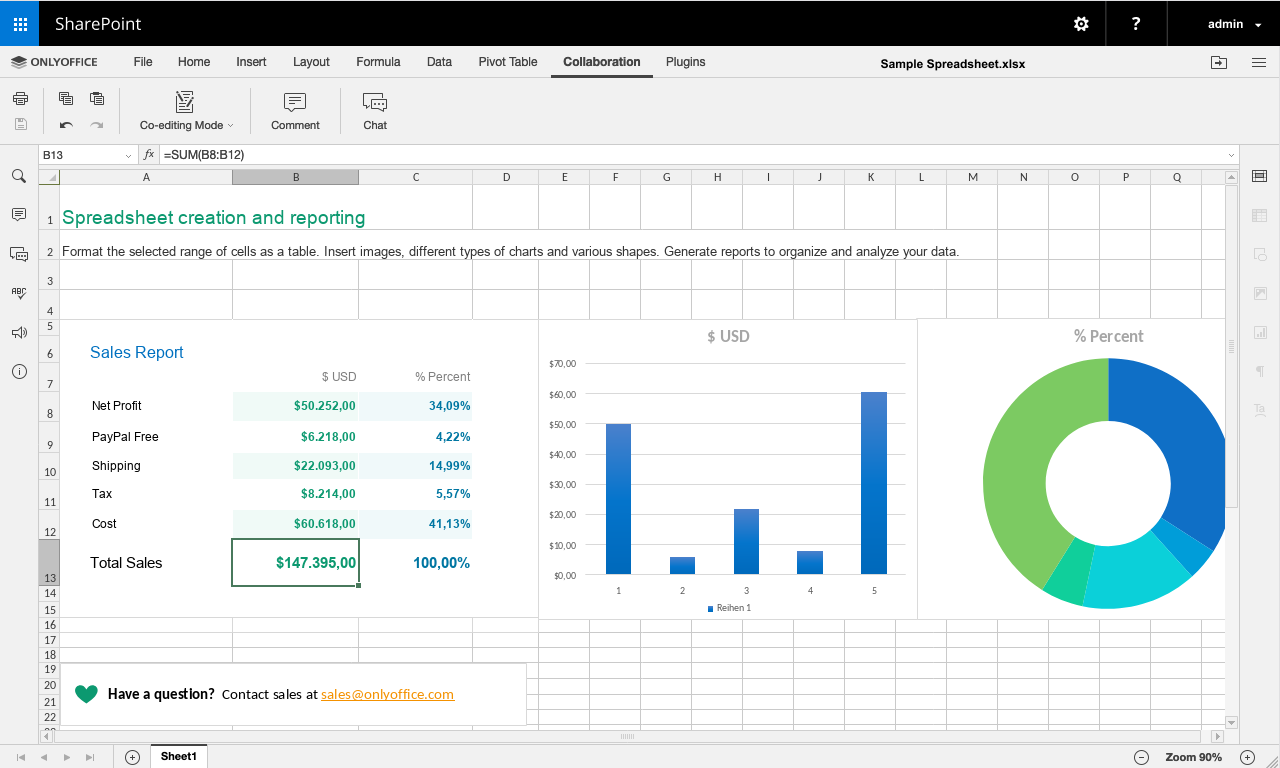
- Edit text documents, spreadsheets, and presentations clicking the file (when using WOPI).
- Co-edit documents switching between the real-time and paragraph-locking modes.
- Track changes made by your co-authors.
- Leave comments and communicate via the built-in document chat.
Among supported formats for editing are DOCX, XLSX, and PPTX. Check other formats
*Please note: when connecting ONLYOFFICE Docs using WOPI, some features are not avaiable due to the WOPI architecture, namely Strict co-editing mode, Version History, Mail Merge, inserting images from storage, comparing documents from storage. DOC, XLS, and PPT are not supported.
To be able to use all the features provided by ONLYOFFICE Docs, connect the applications using our official integration app.
Connecting ONLYOFFICE Docs using WOPI
WOPI is a Web Application Open Platform Interface protocol intended to standardize the integration process.
This integration type is available starting from the version 6.4 of ONLYOFICE Docs. You will also need SharePoint 19.
To connect the applications, follow these steps:
1. Launch your SharePoint server. Run the SharePoint Management Shell console and set the needed WOPI zone:
Set-SPWOPIZone -Zone "external-http"
Quick tip: ONLYOFFICE Document Server uses the external-http parameter by default.
2. Run the following command to check whether there are WOPI bindings to other document types on the current farm:
Get-SPWOPIBinding
Delete these bindings, if there are any:
Remove-SPWOPIBinding -All:$true
3. Create new bindings for default actions as per file types.
Run the following command to create bindings for all file types at once:
New-SPWOPIBinding -ServerName ip_or_domain.com:port
Run the following command to create bindings for particular file types only:
New-SPWOPIBinding -ServerName ip_or_domain.com:port -Extension DOCX
Quick tip: If SSL is not used, add -AllowHTTP at the end of the command.
WOPI webinar
Join our webinar on DZone on September 23, 2021 to learn more about using WOPI for office integration.
Create your free ONLYOFFICE account
View, edit and collaborate on docs, sheets, slides, forms, and PDF files online.


