How to sign a Word document in ONLYOFFICE
Want to protect information in your Word documents? Learn how to add digital signatures in ONLYOFFICE Desktop Editors and share documents, spreadsheets, and presentations for signing.

About digital signatures
Digital signature is an advanced mathematical technique used to verify the authenticity and integrity of important documents. Whenever you add one, documents get protected from editing and the corresponding warning message will appear. Attempts to edit files anyway make signatures invalid, which means the content was modified intentionally.
The most common use case for digital signatures is sending documents. They prove that files are distributed by a known sender and were not altered in transit.
To sign Word documents digitally, you must have a certificate issued by a Certificate Authority (CA).
ONLYOFFICE Desktop Editors allow protecting documents on your computer with or without visible signs. Both types operate similarly from the technical standpoint — neither is better or worse. Choose the necessary one according to your company policy.
Invisible signatures for Word documents
This option is suitable for everyone who needs to prove the origin and integrity of documents, but does not plan to print them out or make new fields in the content.
Step 1. Open a Word document in ONLYOFFICE Desktop Editors and go to the Protection tab.
Step 2. Click on Signature —> Add digital signature.
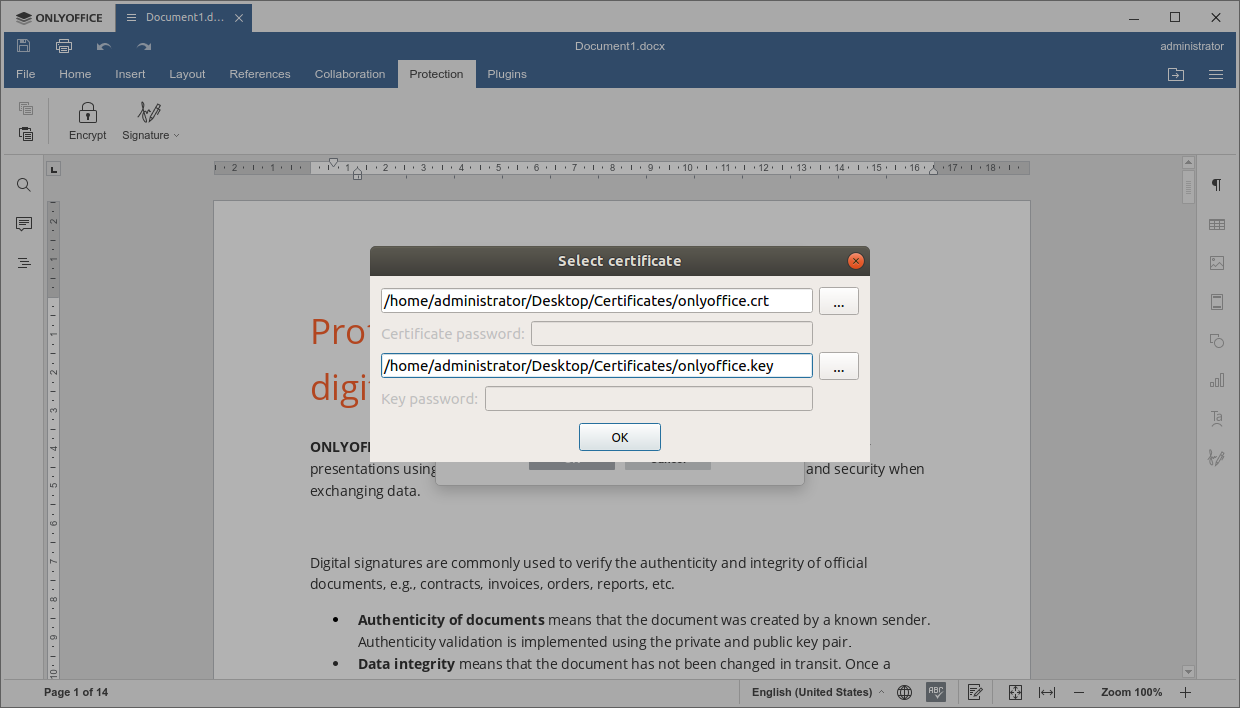
Step 3. Select a digital certificate from those installed on your Windows machine.
On Linux distributions and macOS, you need to upload the certificate and secret key files manually. Find corresponding CRT and KEY files on your desktop environment.
Step 4. Click OK to digitally sign a document. A window will appear on the right sidebar informing you that a file is protected from editing.
Signature lines for Word documents
ONLYOFFICE Desktop Editors allows adding lines where you can insert visible signatures with your name or ask another person to do so. The fields with a name or image will appear in the document and physically printed papers.
Step 1. Choose where you want to add a signature line and go to Protect —> Signature —> Add signature line.
Step 2. Fill in the required fields: Name, Signer Title, E-mail, Instructions for Signer.
Click OK and save the document.
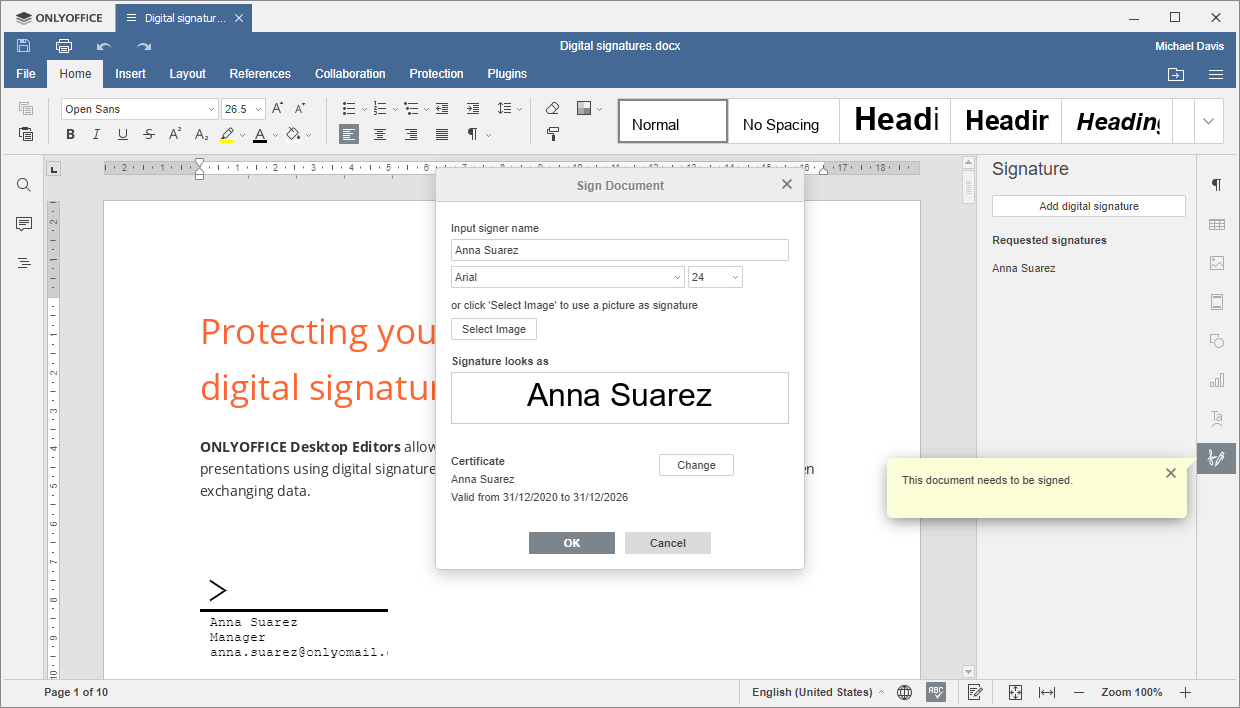
Step 3. Double-click the line and choose, whether you want to input your name or upload an image with your actual signature in handwriting.
Images can also contain stamps.
Select a digital certificate as described in step 3 for invisible signatures.
See each step in the how-to video on our YouTube channel:
Open details on the right-side toolbar to see information about your signature. Now you can save documents locally and send them per email. Recipients will be sure about documents authenticity and that data was not modified in transit.
Try this and other security features in ONLYOFFICE Desktop Editors, such as password protection and Private Rooms for collaboration encrypted end-to-end.
Electronic signatures for Word documents
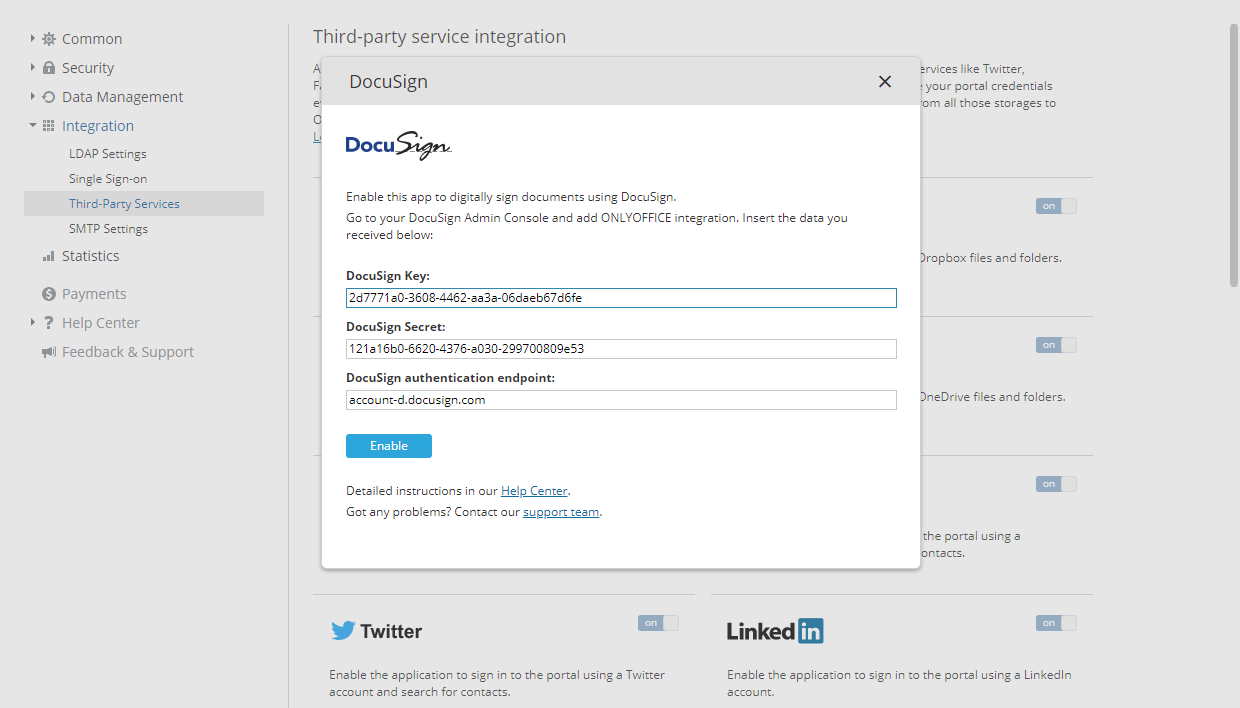
Users of ONLYOFFICE Workspace can also sign Word documents electronically. That is just a digitized version of your handwritten signature — it does not require certificates and used as an electronic symbol to indicate parties’ intention to sign a paper.
Now it is possible via third-party service DocuSign. Visit our Help Center to know how the integration works.
Soon we expect our native e-signature functionality.
Useful links
Detailed information on digital signatures in Help Center. Learn more>>
Integrate DocuSign to add electronic signatures to Word documents. Learn more>>
How to protect Word documents with passwords. Learn more>>
How ONLYOFFICE keeps your data secure. Learn more>>
Want to share your feedback? Leave it in the comments below or tweet us at @only_office.
Create your free ONLYOFFICE account
View, edit and collaborate on docs, sheets, slides, forms, and PDF files online.


