- Blog /
- Integration /
- ONLYOFFICE /
- Univention
The new no-sweat way to run ONLYOFFICE with ownCloud
Hello everyone!
App appliances recently introduced by Univention are a distribution format that allows installing systems already packed with components such as ONLYOFFICE Document Server and ownCloud. In this post, we are describing why it is convenient and how to install ONLYOFFICE on your server using this method.
In case you missed, Univention offers IT environments that carry out any possible process in a business, unifying services from third-party vendors under a single interface – Univention Corporate Server (UCS). Within UCS, the installation, updates, and maintenance of the components become largely automated and user-friendly, which argues for better applicability in companies with limited IT expertise.
This time Univention introduced virtual app appliances, a simplified way to install apps in UCS.
Virtual app appliances are VirtualBox or VMware images that incorporate the app, UCS management system and the UCS runtime environment.
Univention has minimized the effort needed for appliance installation: user downloads and imports it to the virtualization platform, then runs the setup wizard inputting local settings, and the rest is self-configured automatically.
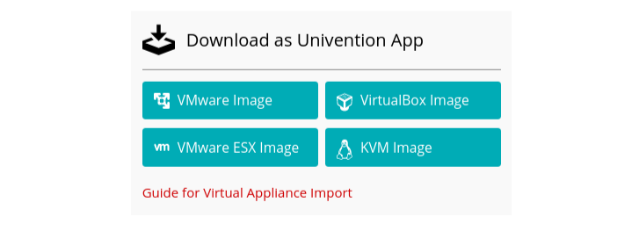
ONLYOFFICE appliances are available for download from our official page in Univention App Catalog. More information about this format can be found in Univention’s official blog.
To run within Univention environment, ONLYOFFICE Document Server needs to be paired to a sharing platform, be it Nextcloud or ownCloud, since it is only a document processor and requires a platform to host and manage the processed files.
When installing ONLYOFFICE as a virtual appliance, the rule stays, only with the difference that the components are paired automatically without user action involved. ONLYOFFICE is already available in combination with ownCloud, while the appliance with Nextcloud will be released very soon. We will sure keep you updated.
1. Download the necessary components
First, choose and install the hypervisor for the virtual machine to run the appliance: VMware or VirtualBox Workstation Player (see the corresponding documentation for detailed installation guide).
Then download ONLYOFFICE-ownCloud app compliant with the hypervisor of choice and import it.
2. Import the virtual appliance
Open your hypervisor and import the ONLYOFFICE virtual image. You can read more about how to do this in VirtualBox and VMware Workstation Player in this guide.
3. Install ONLYOFFICE
When the image is imported, start the Virtual Machine with ONLYOFFICE and UCS and continue to booting process.
Note: The data in the screenshots is exemplary: while booting, input your own data to get system operating in your environment.
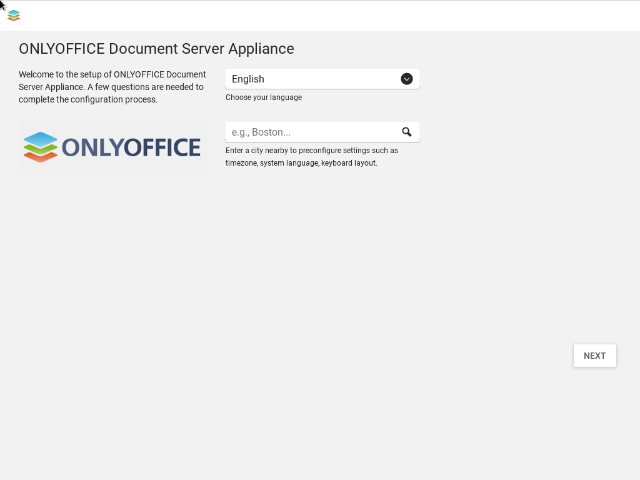
First of all you need to localize your system. The nearest city selection is necessary to obtain the localization data, such as timezone, keyboard layouts, etc..
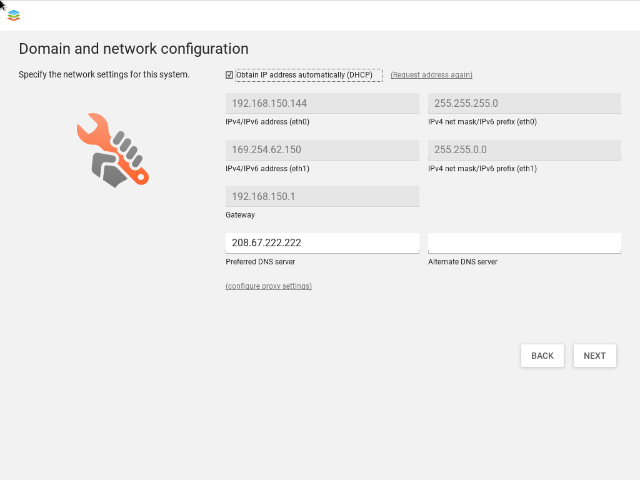
After that, set up your domain and network. IP addresses can be manually selected or obtained automatically, and you need to choose the DNS server address to host the system.
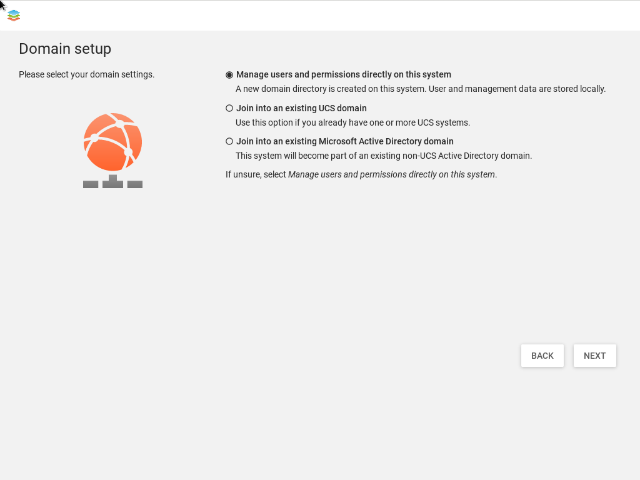
The wizard continues to the domain setup. You can either connect to the existing UCS or Microsoft Active Directory domain, or set up the new one by choosing to manage users and permissions directly on this system (this How-To is oriented at setting up a new system).
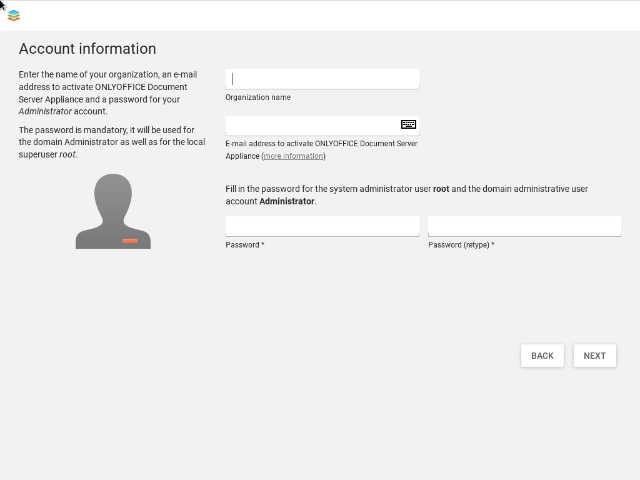
Now fulfill your admin account information: Company name, email address for activating ONLYOFFICE, and a new password.
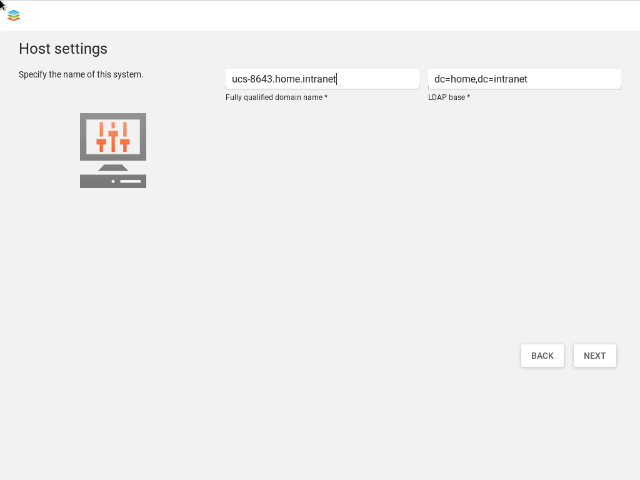
Specify the full domain name for this system and an LDAP base:
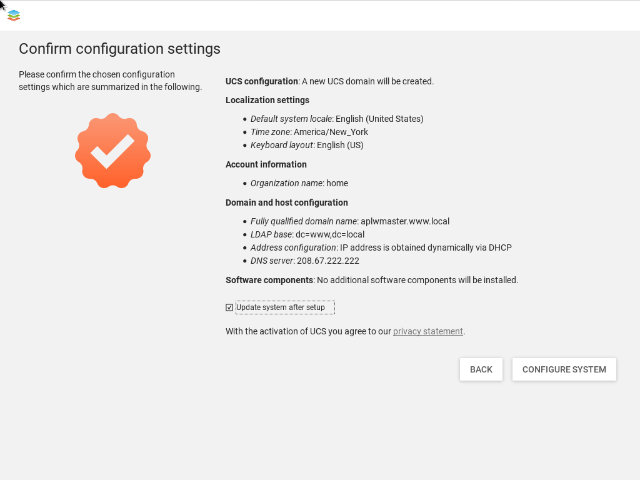
After that, you will see an overview of your settings. Double-check your inputs and click ‘Configure System’.
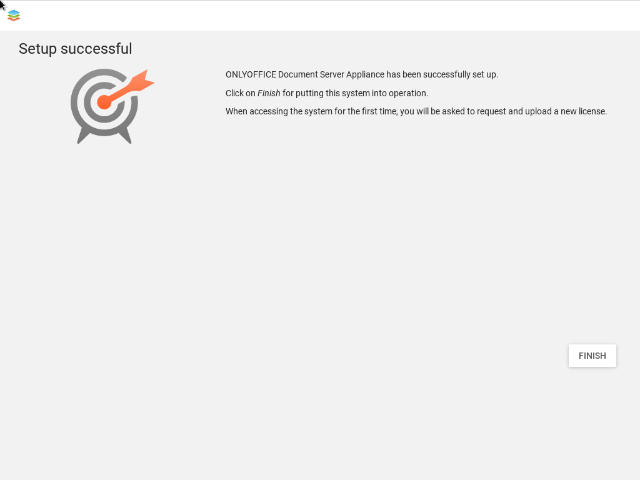
Well done! ONLYOFFICE is ready to start in a newly created UCS platform.
Read more about ONLYOFFICE in Univention in our dedicated blog post. For any questions, contact us at support.onlyoffice.com or use the comment section below.
Create your free ONLYOFFICE account
View, edit and collaborate on docs, sheets, slides, forms, and PDF files online.

